| 
| 
|

|
|
|
This week, I decided to try a tutorial for something that I have wanted to try forever. I have always loved sailor's knot bracelets, and this was such a fun opportunity to try something new. This is the tutorial that I used (found on Pinterest): 
I went to Michaels to find macrame cord, and apparently they do not carry it, or anything that is particularly similar to it. I'm hoping to find some in the future so that I can make a proper sailor's knot bracelet (because I LOVE the look of the macrame cord). I ended up using paracord, which seemed similar in size, and it seemed practical, so that I can untie it and use it for whatever it is you are supposed to use paracord for ;P I picked up grey, black, flourescent orange, and army green (pictured below). I am planning to make more of these bracelets with the other colors that I have. 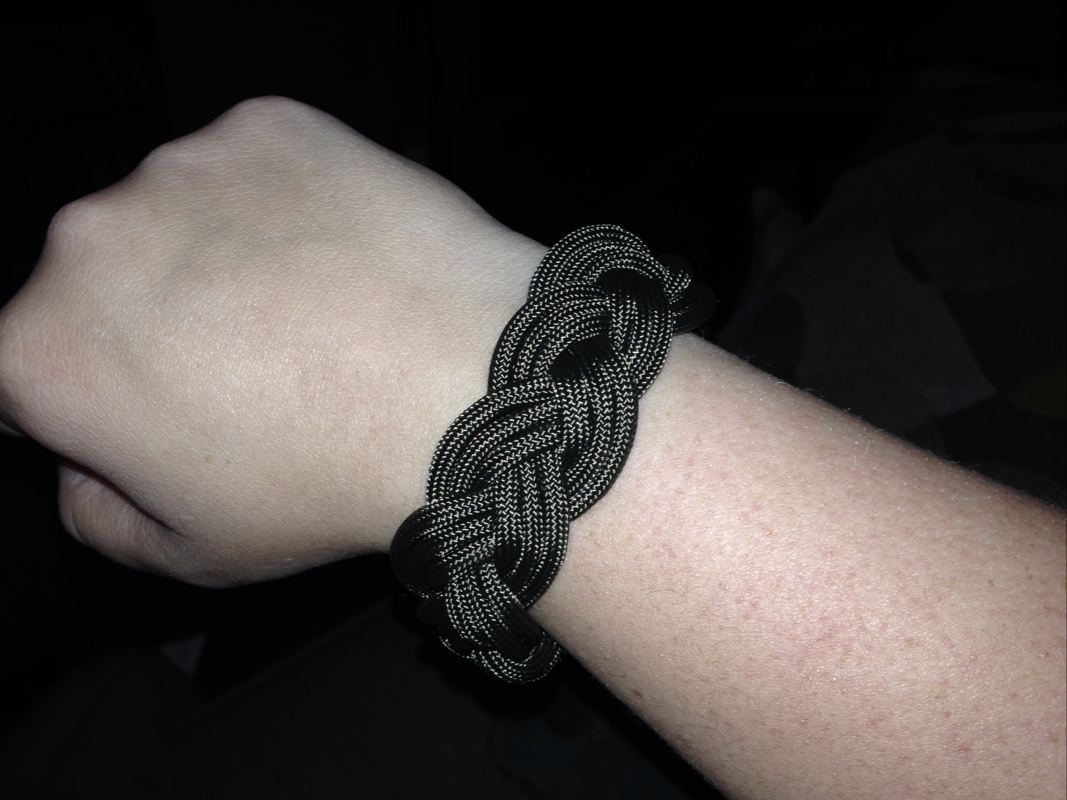
Comment below if you decide to make a sailor's knot bracelet- they are so fun for summer! Love- JenIn November, I bought a Groupon for my mom and I to go to an event called Paint Nite. We ended up deciding to go to the one that happened this last Wednesday, and we had so much fun! 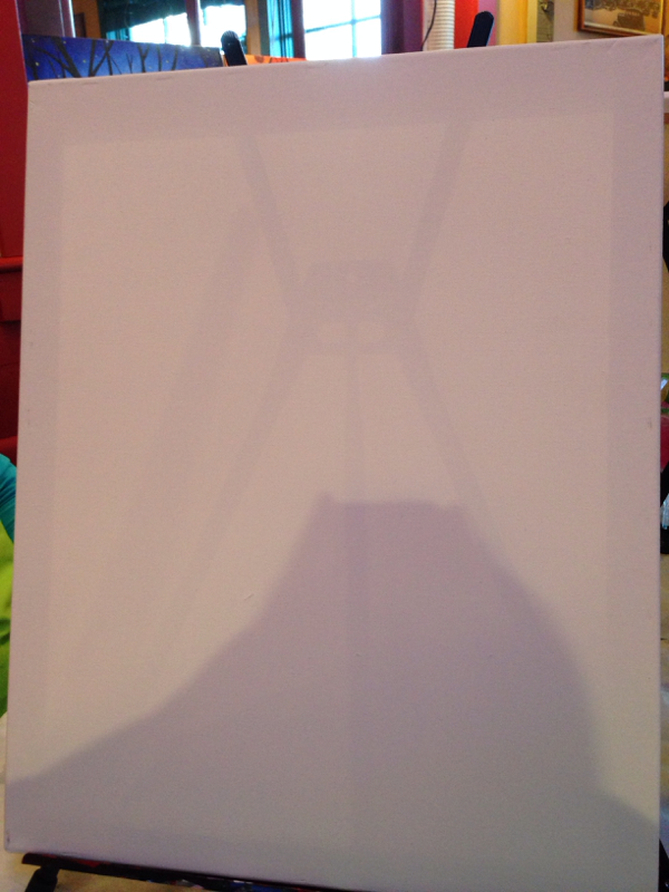
Here is my blank canvas before we started. I wasn't convinced that my painting would turn out like the example painting, but I was excited to try! 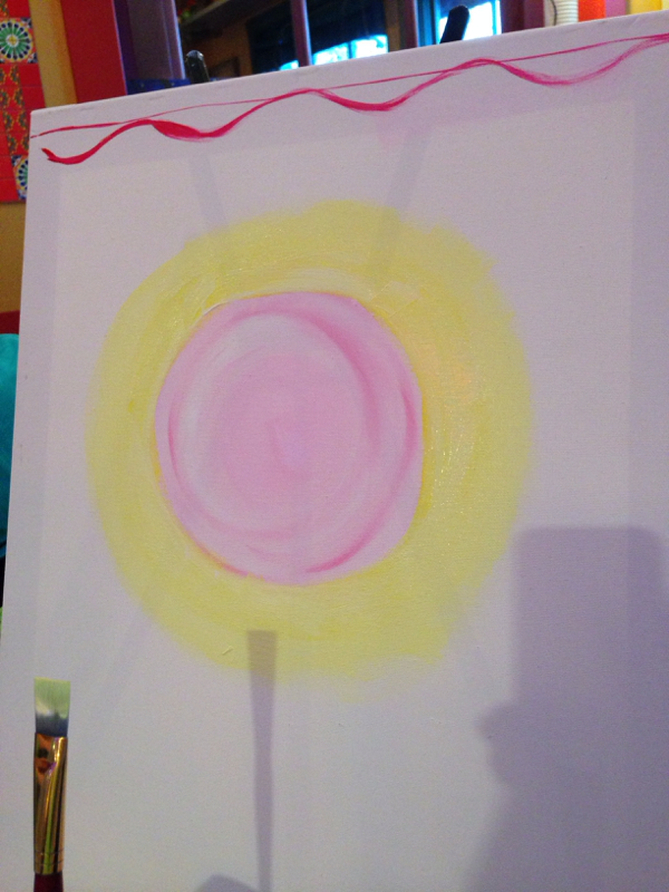
I think that some of my favorite things that I learned in the class were the new techniques on how to paint. It was so interesting to see how to make the swirly effect that blended in with white. We mixed our own colors, so each person's painting was a bit different. 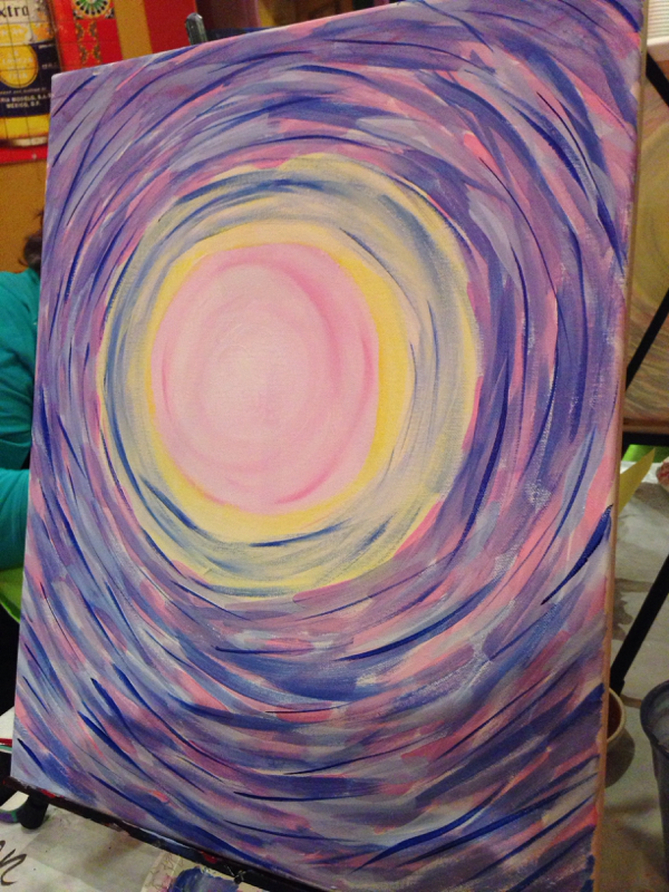
This was my finished background, which took about half of the class to complete. I am really happy with how my background came out, it's a bit darker than a lot of the other paintings in the class, but I really like the effect. 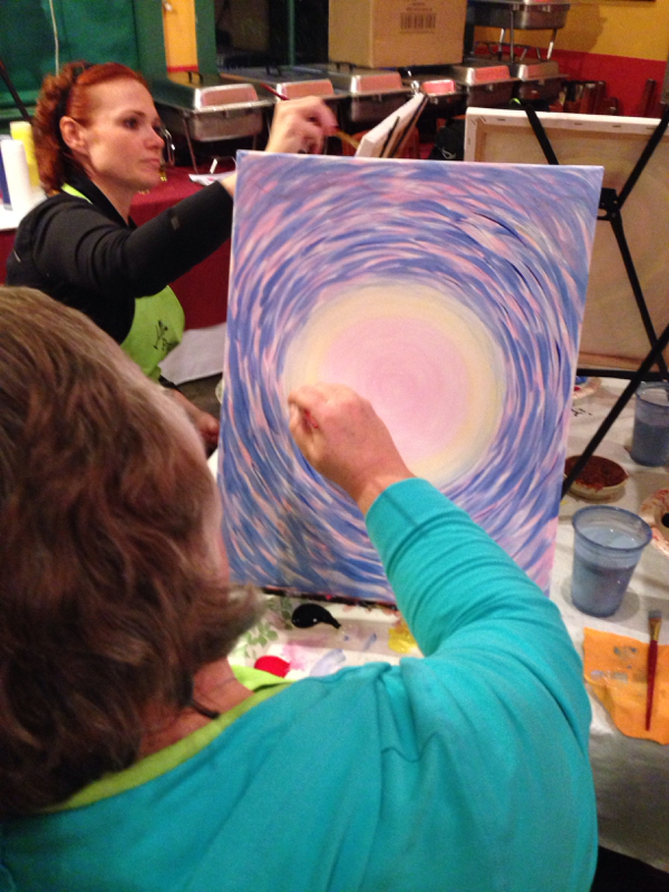
I loved spending this time with my mom- it was so fun to learn together how to paint. And now we have matching pictures! 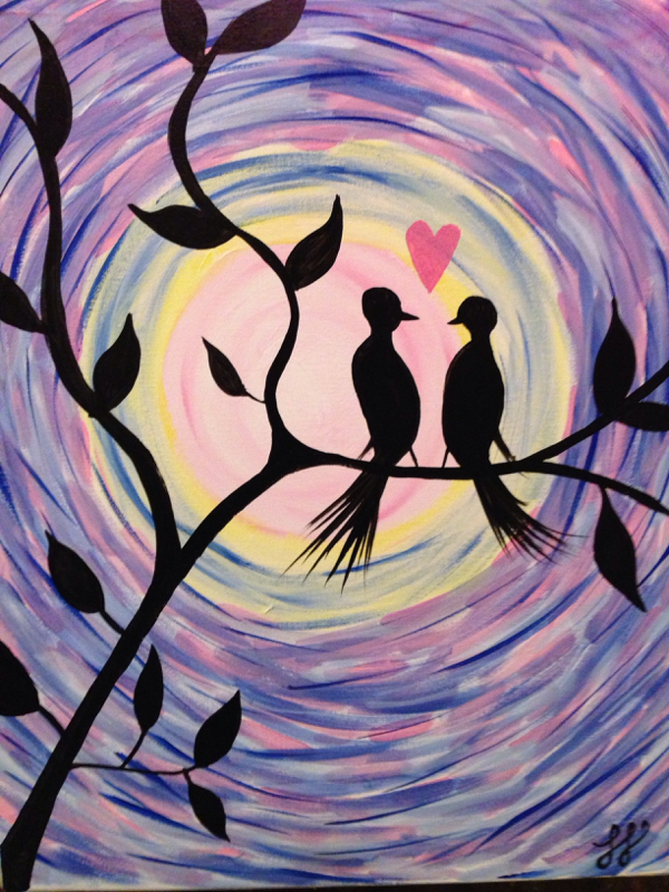
This is my final product. I am really happy with how it turned out. Is it weird to say that my signature was the hardest part of the painting? I'm so excited to do this again! Love-Jen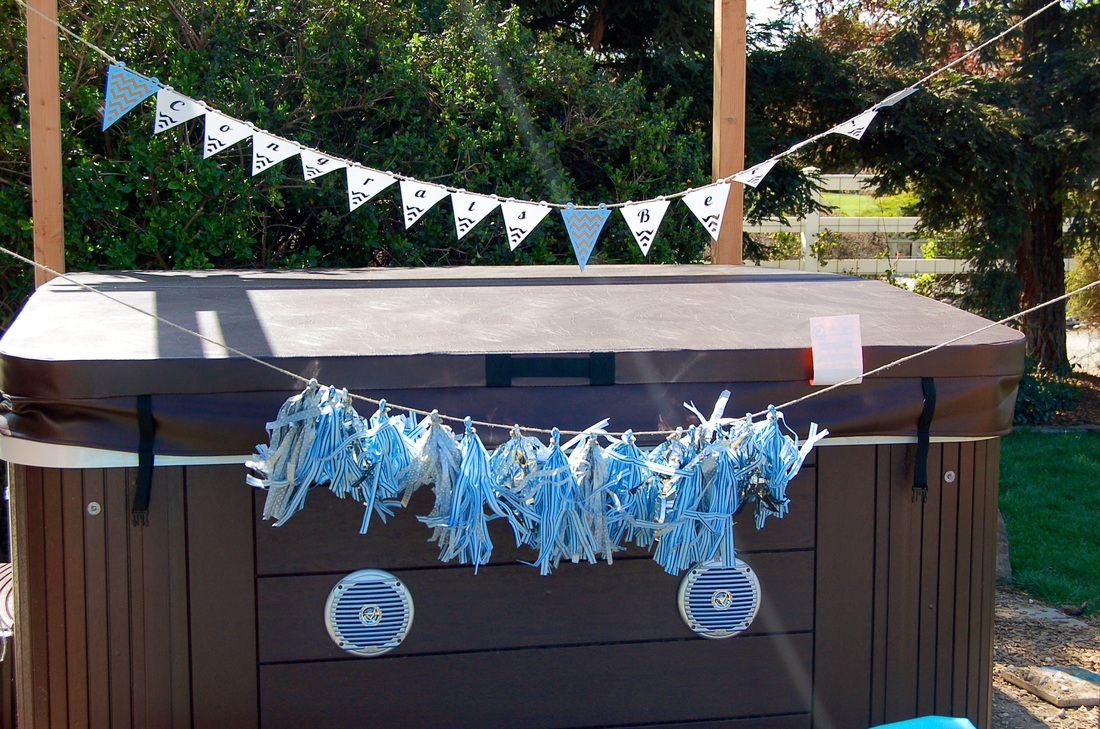
I was lucky enough to help plan my co-worker's baby shower this last weekend, and I was trying to figure out a new way to decorate a space. I had already done tissue poms for my friend's bridal shower, and I wanted something a little more boyish since my co-worker is having a boy. I used this tutorial to create my tissue garland, and I think that this will definitely be an easy decoration to make going forward. I think it turned out great :) 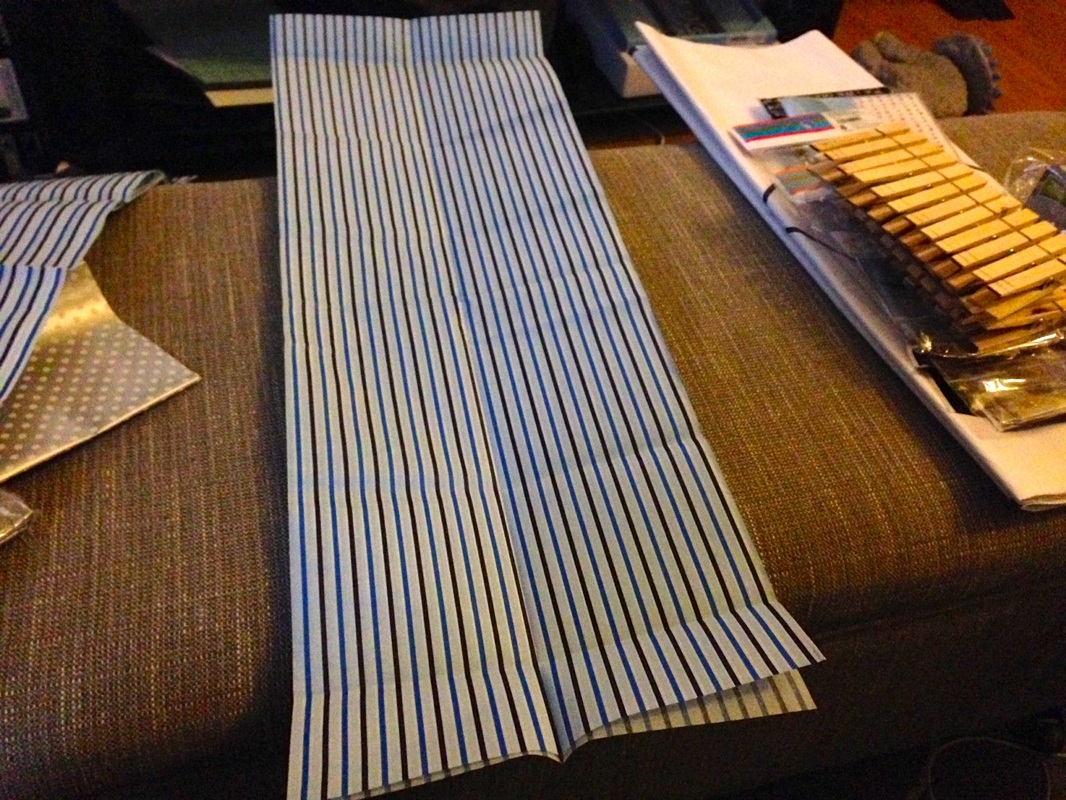
Fold the tissue paper in half length-wise. 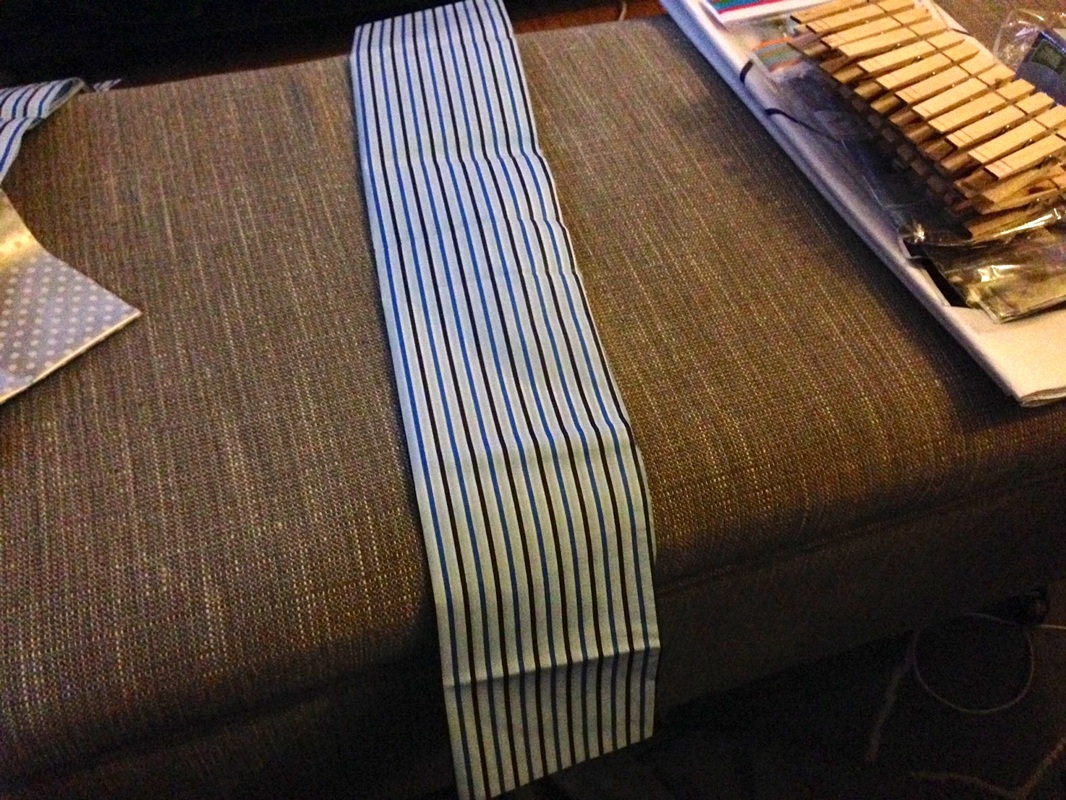
Fold it in half length-wise again. 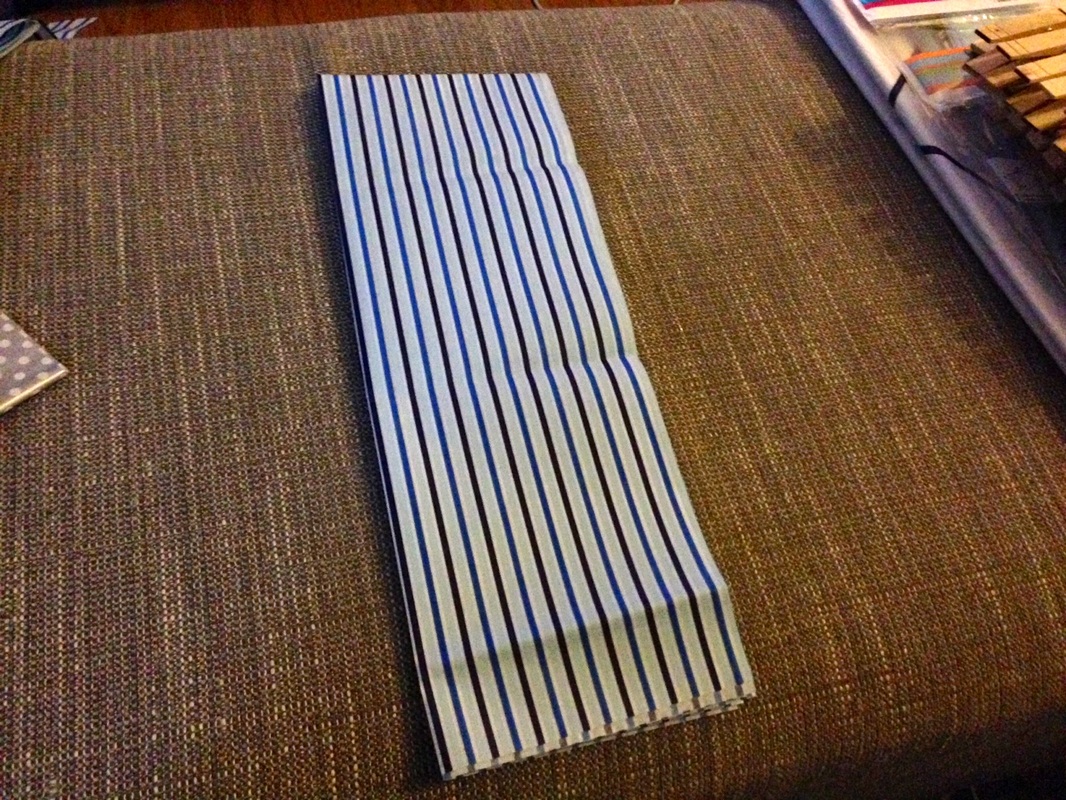
Then, fold it in half the other way (so that the fold is at the top). 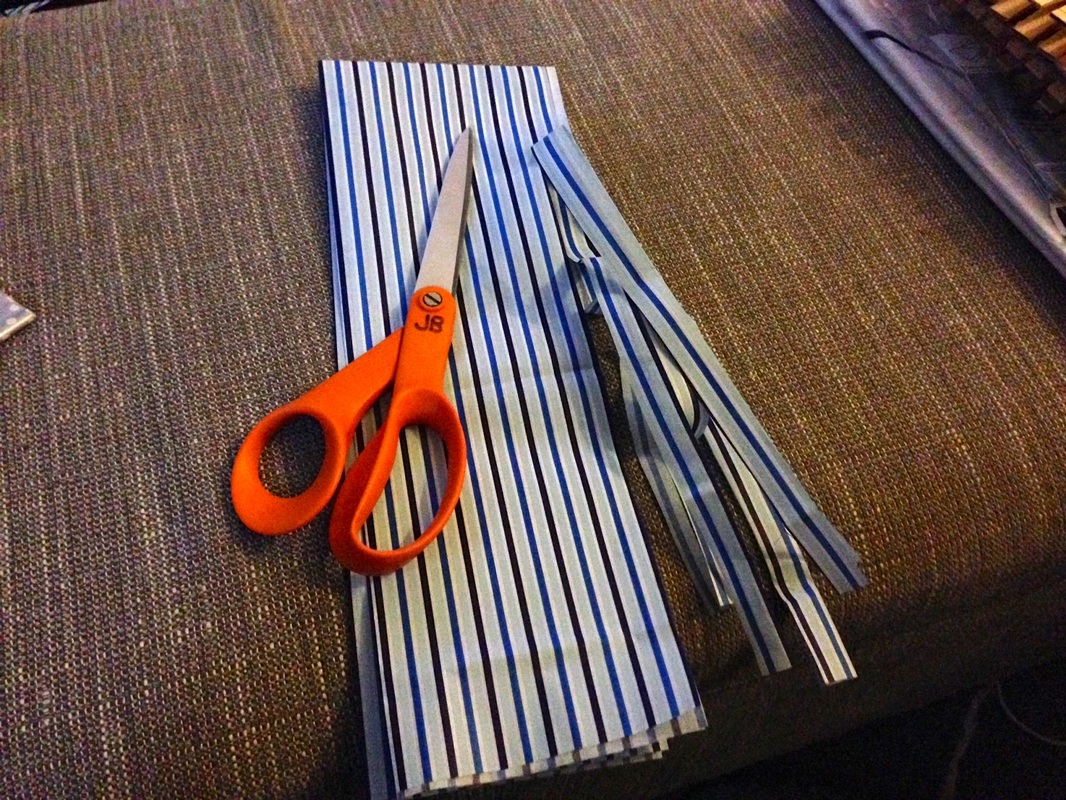
Start to cut strips length-wise in the paper, and continue all the way across. Make sure to stop about 4 inches from the top fold of the paper. 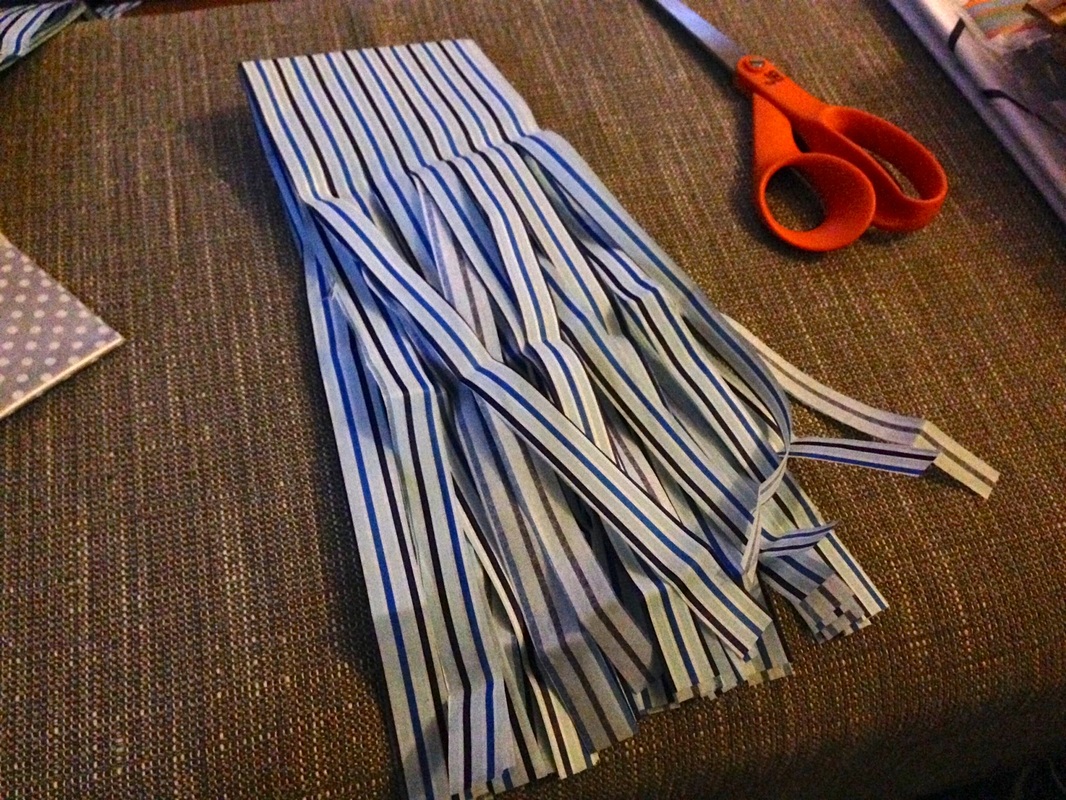
Make sure that all of the strips are similar in size. One thing that I wish that I would have done would be to iron the tissue paper before I started. That way, I wouldn't have all of those folds in the paper. 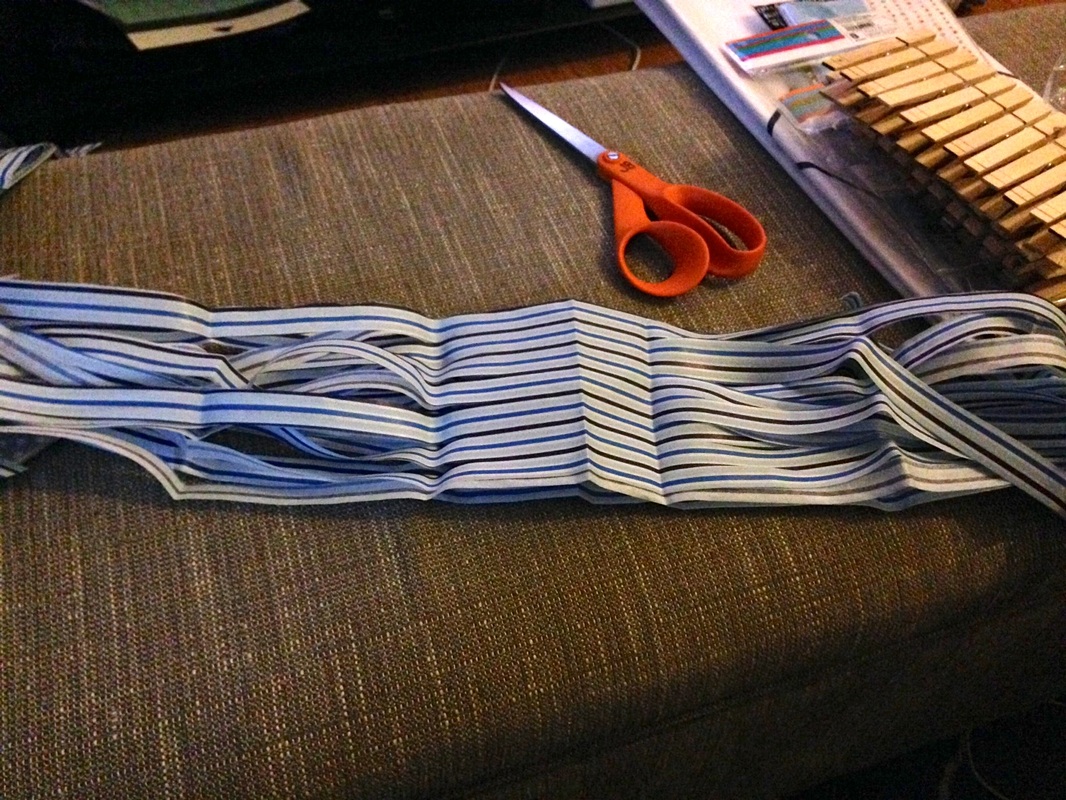
You then unfold the paper so that the strips are on either side. 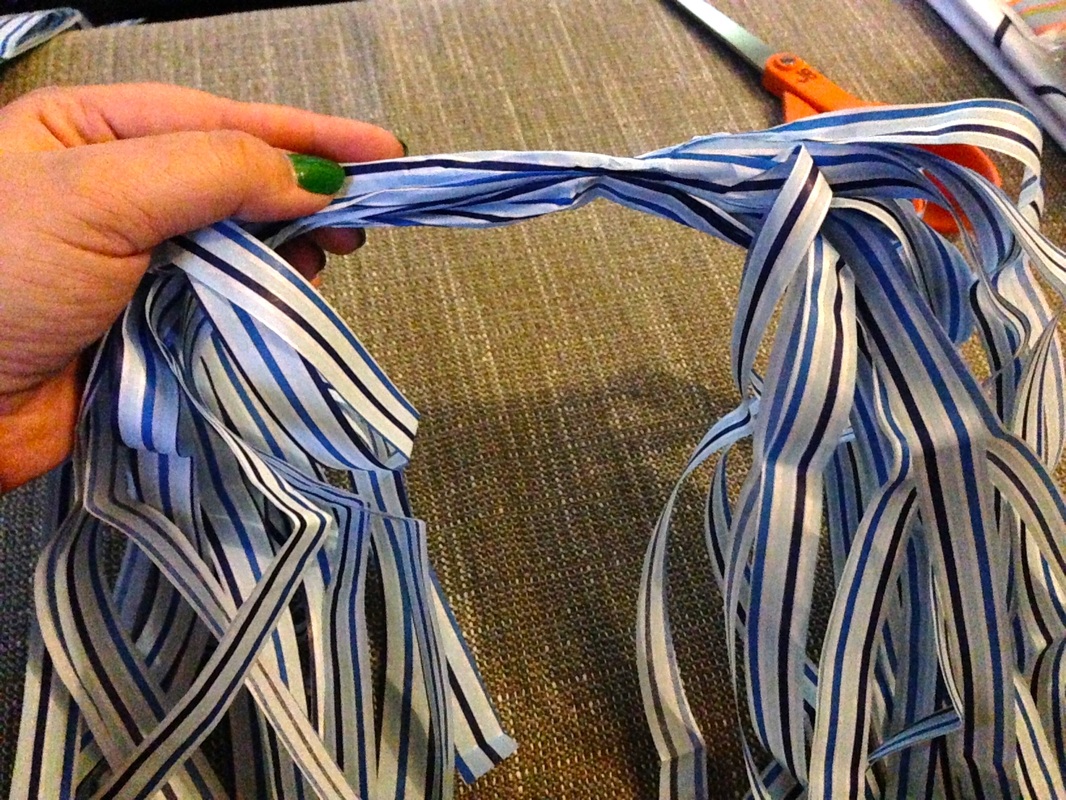
Crinkle it up in the middle so that it stays together. 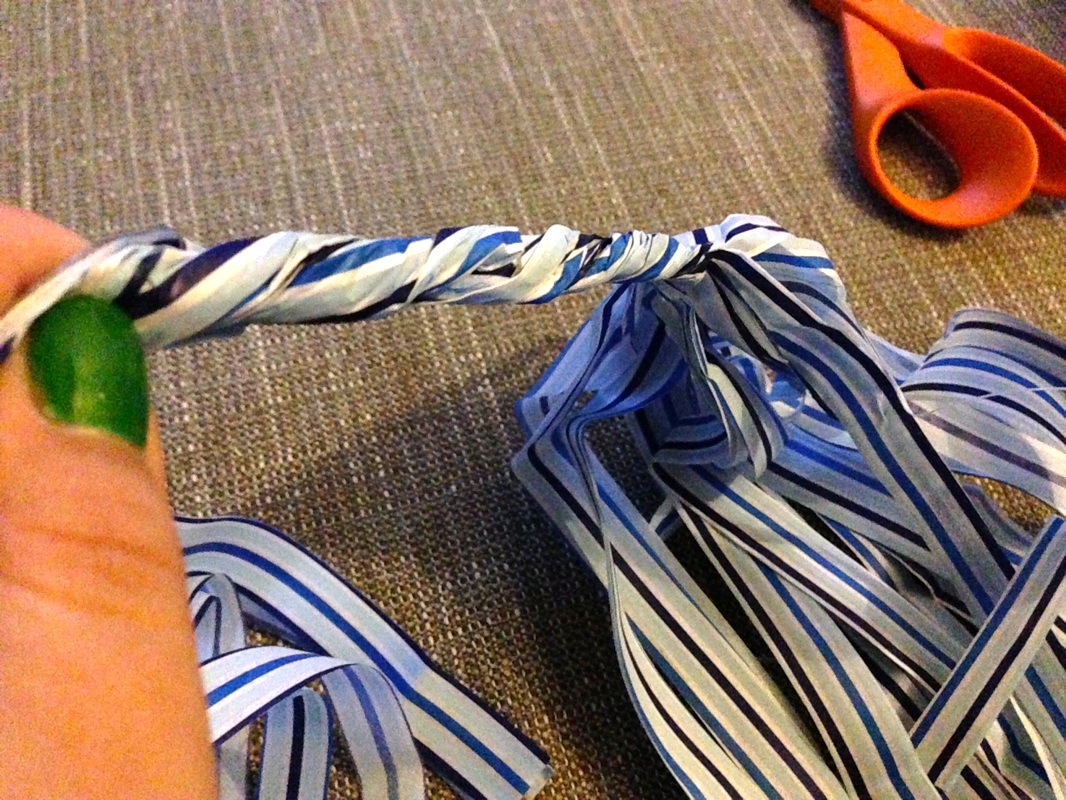
Twist the middle. 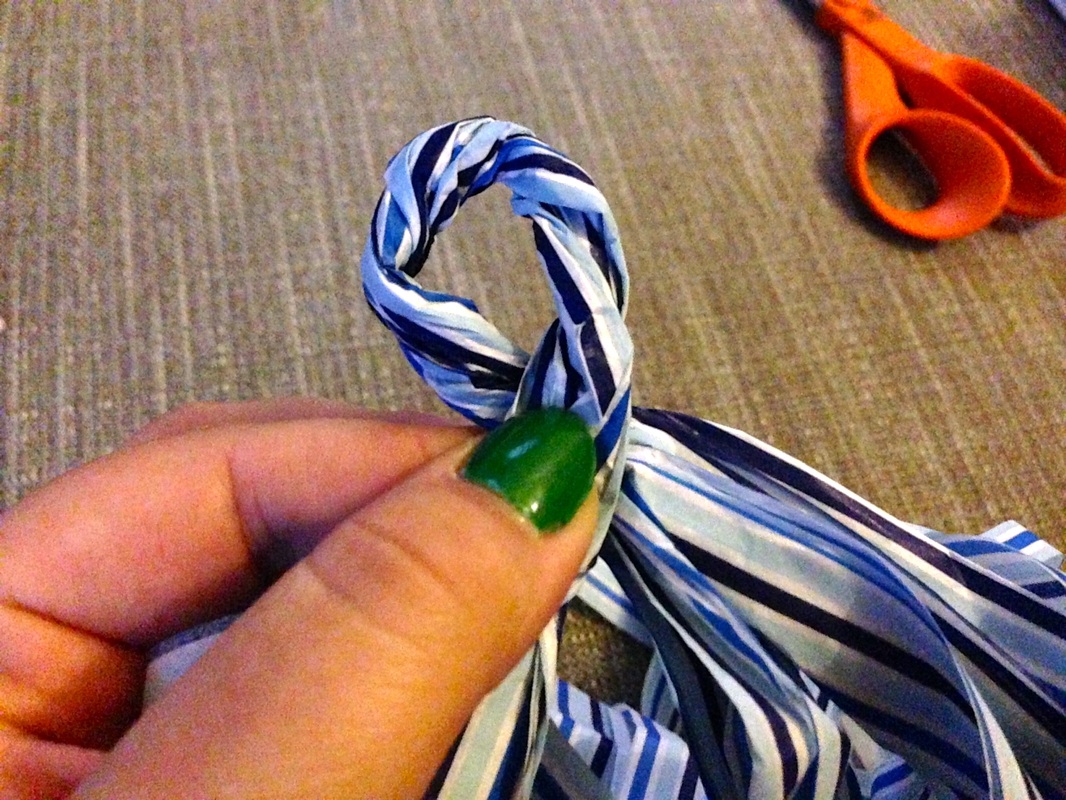
Twist it so that it makes a loop. 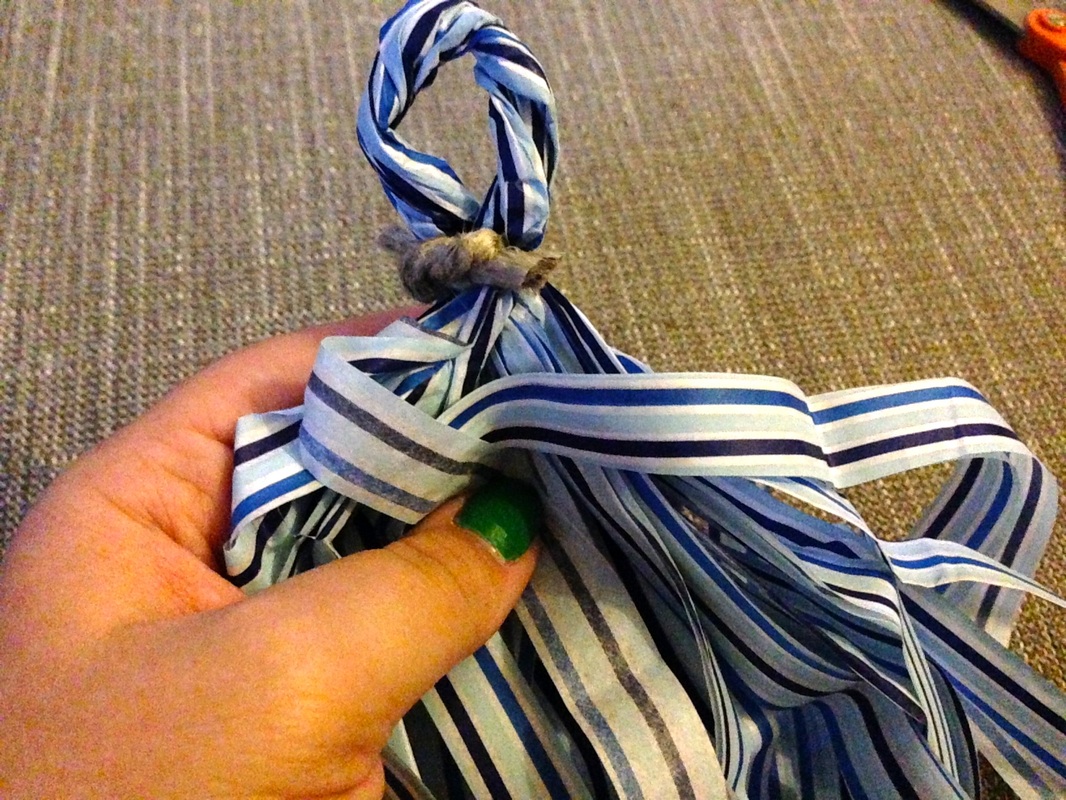
Tie the loop with twine, then string it up on a piece of twine or string. Let me know if you decide to try this tutorial! I found it to be very easy, and I think that it added an extra element of color to the party. And it may even be used in the baby's nursery! Love- Jen
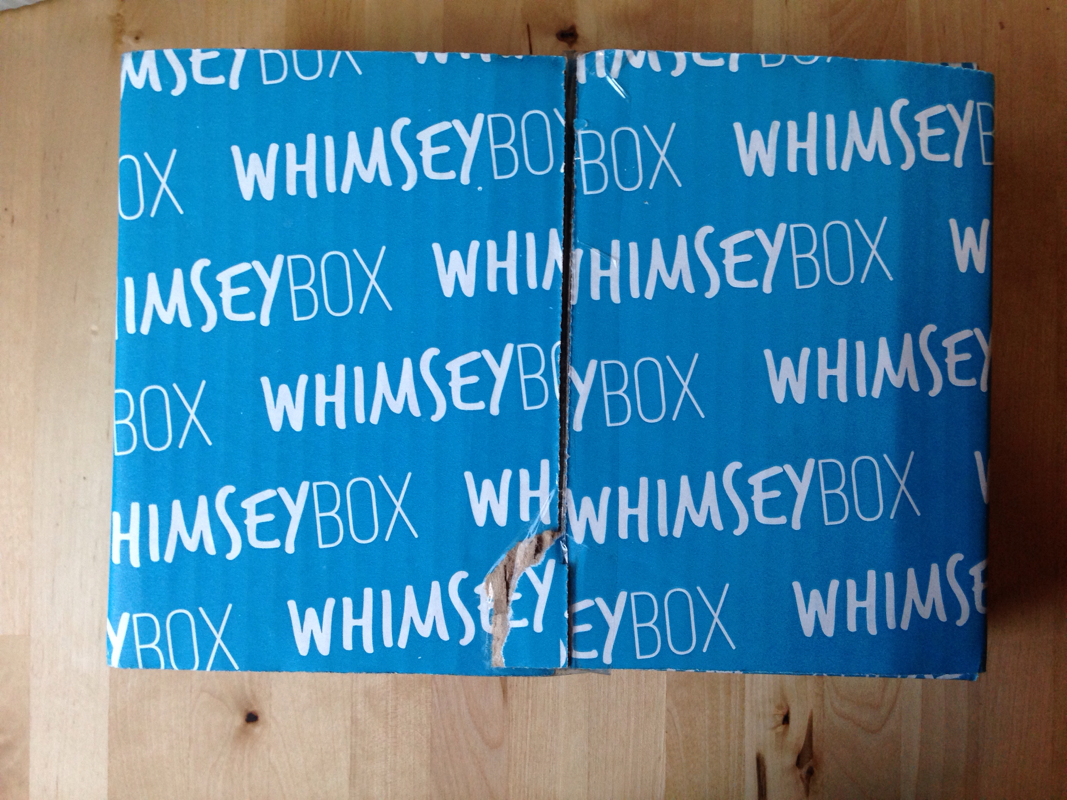
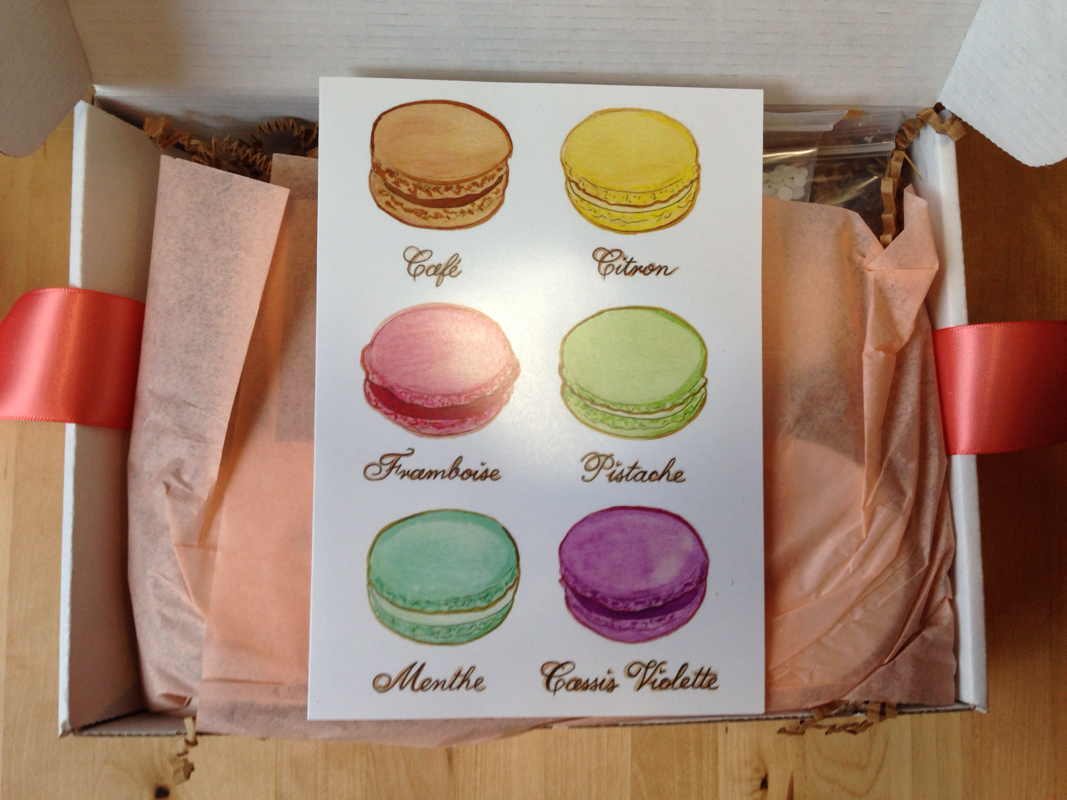
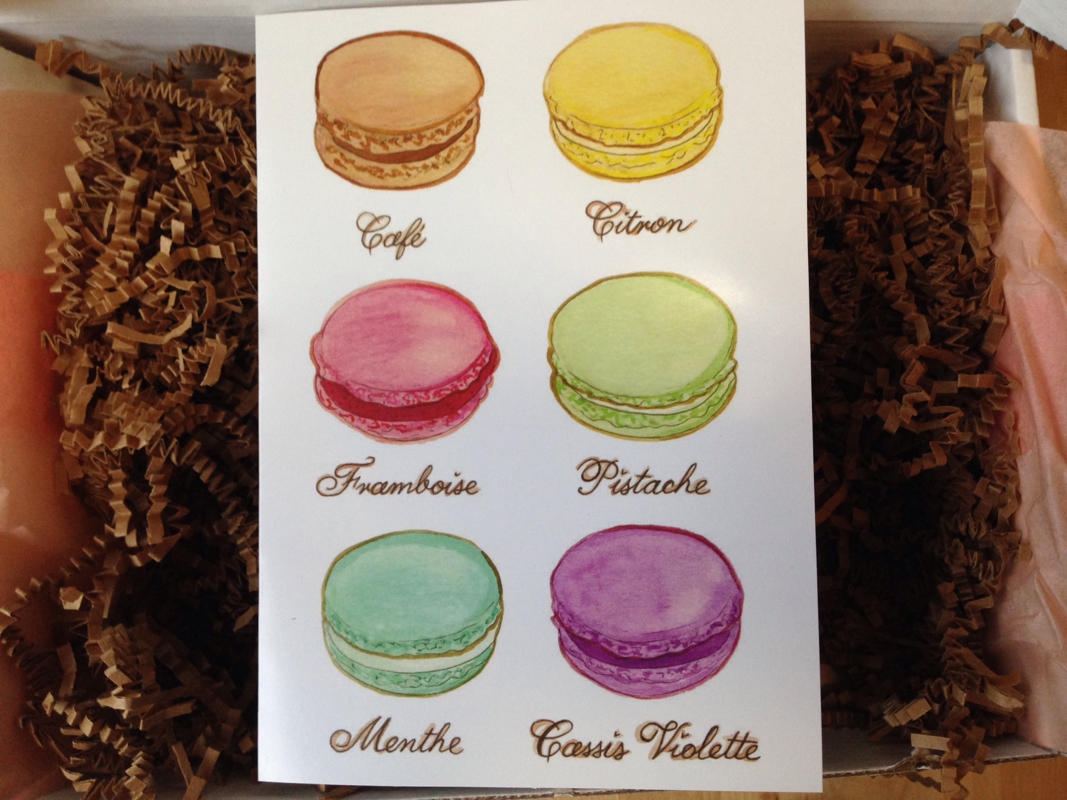
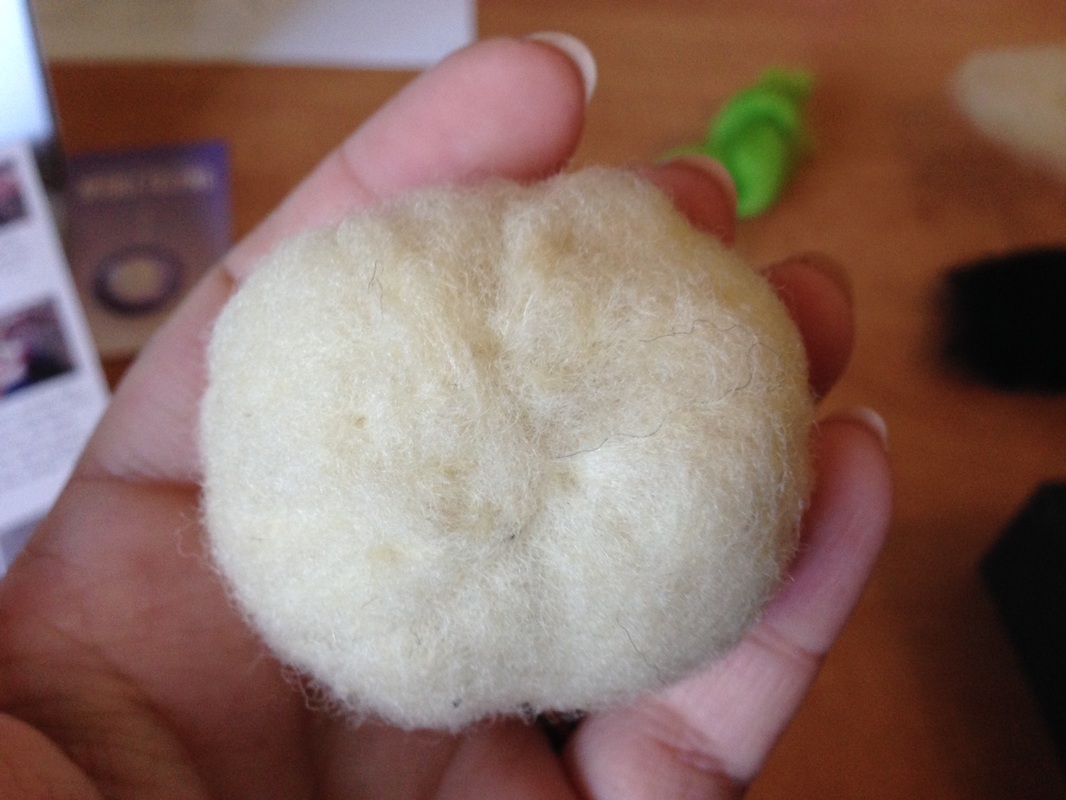
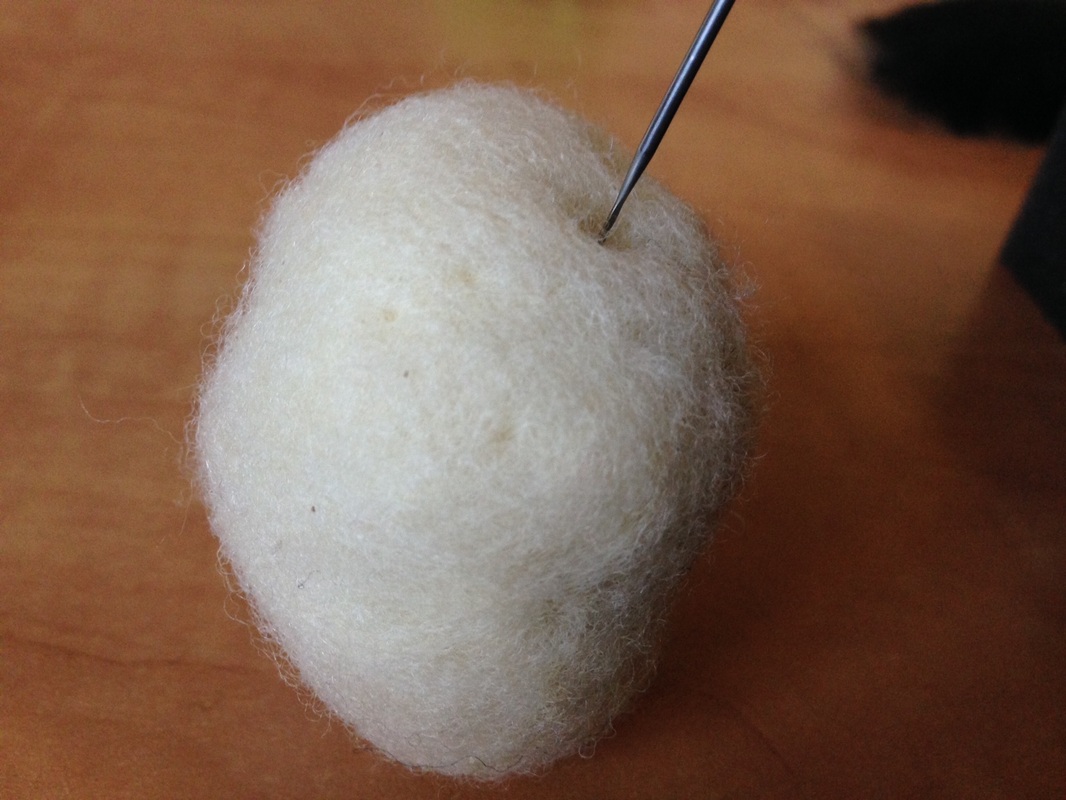
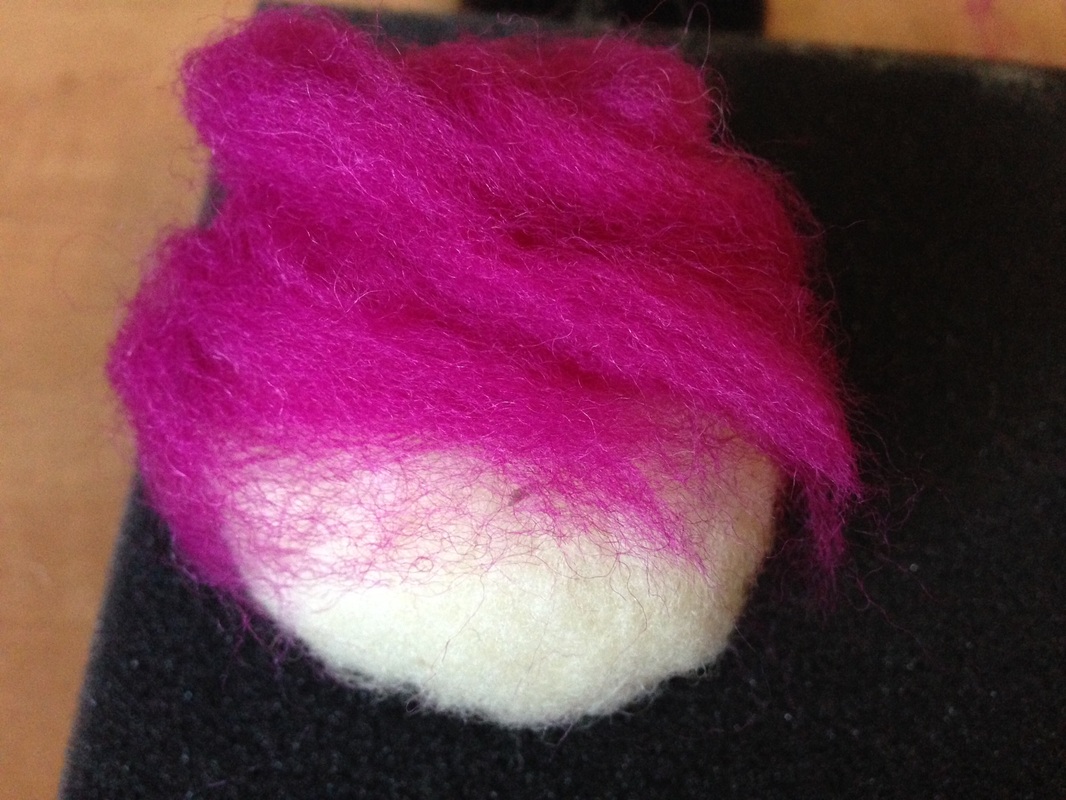
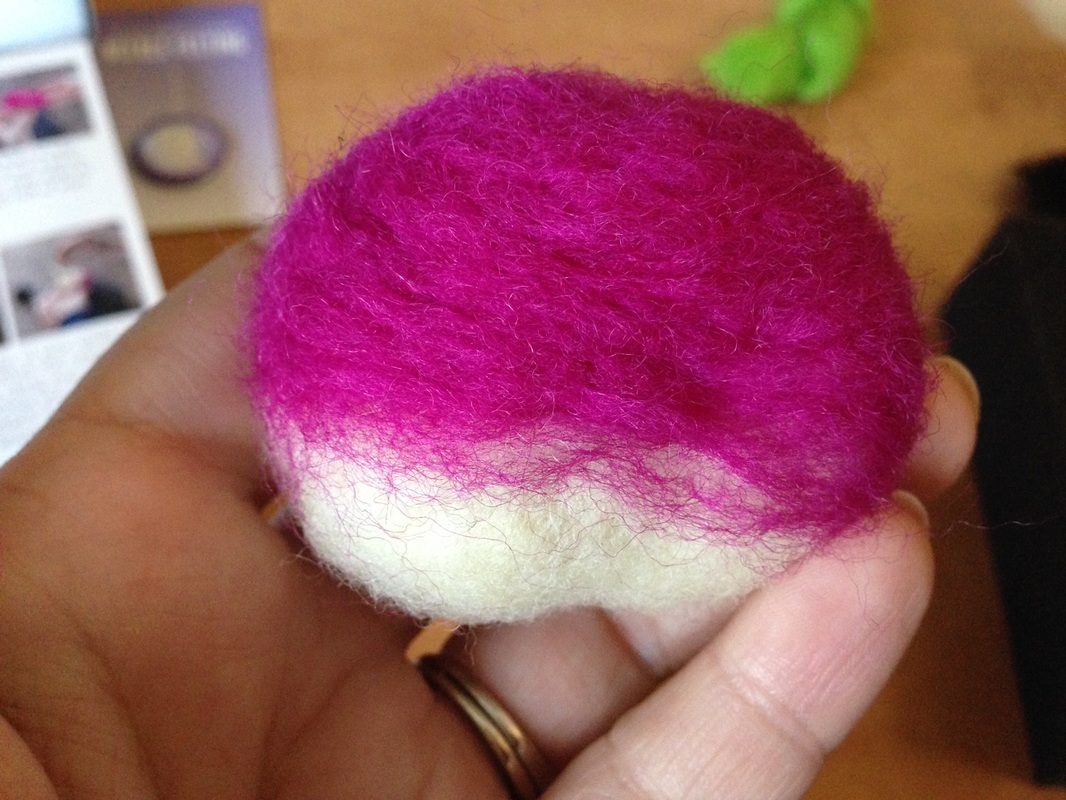
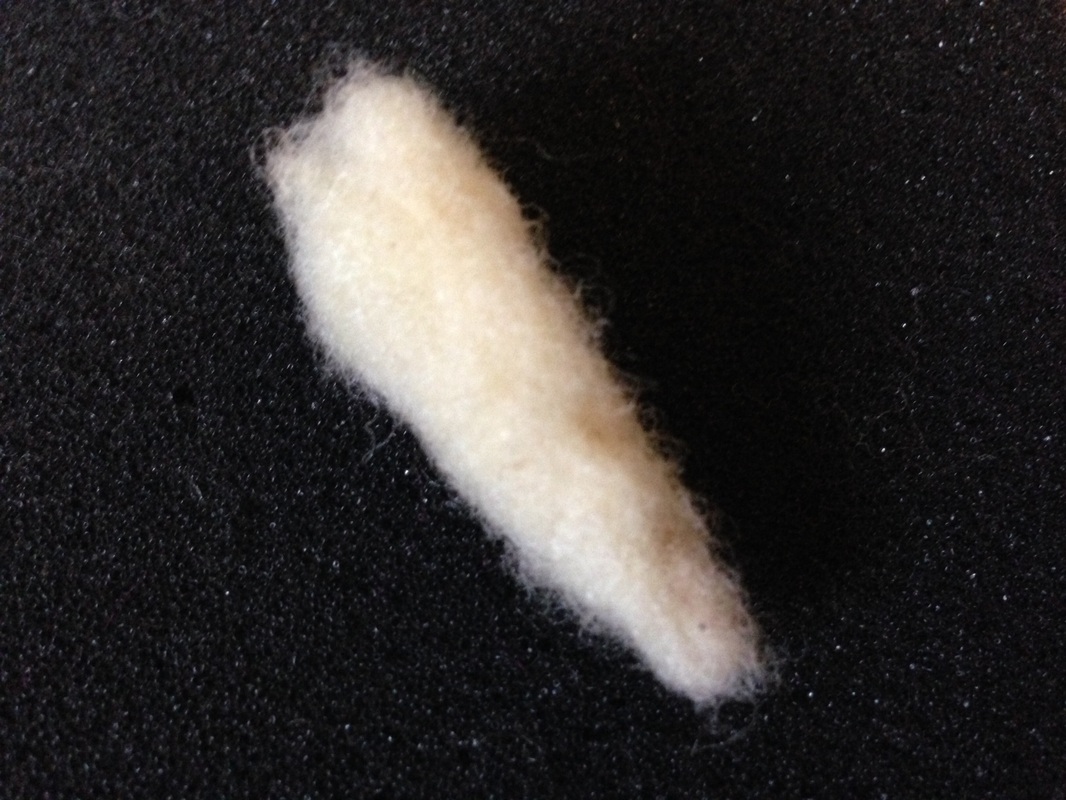
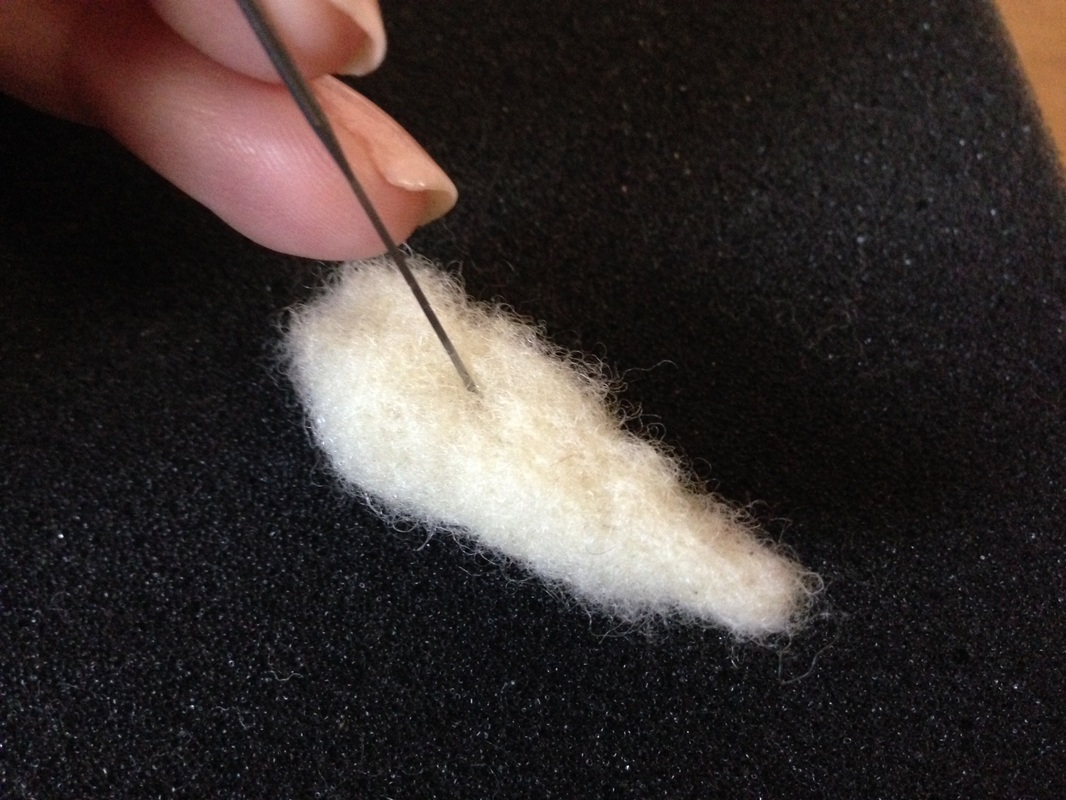
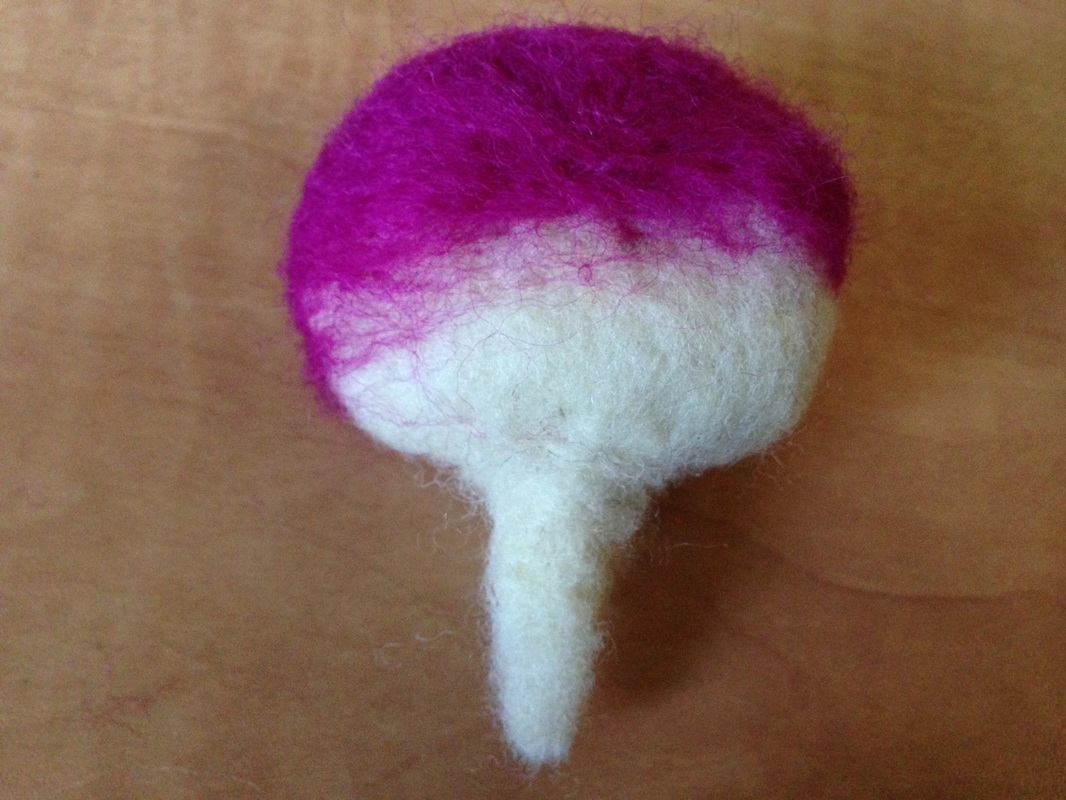
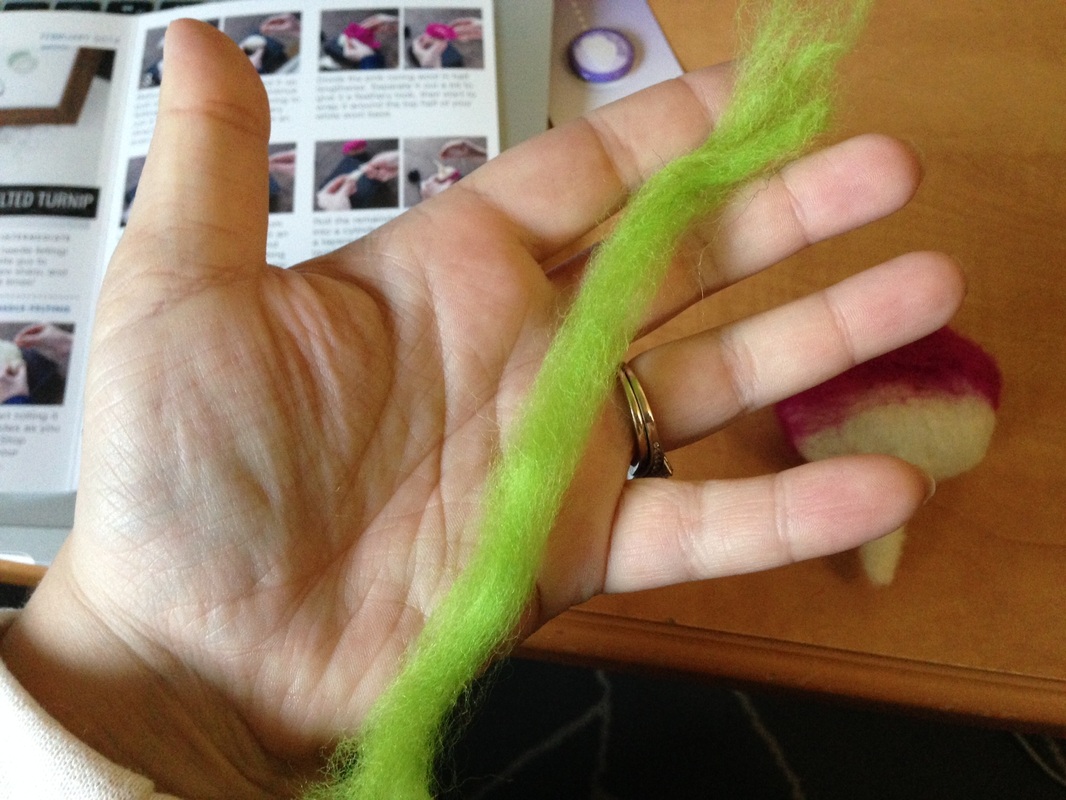
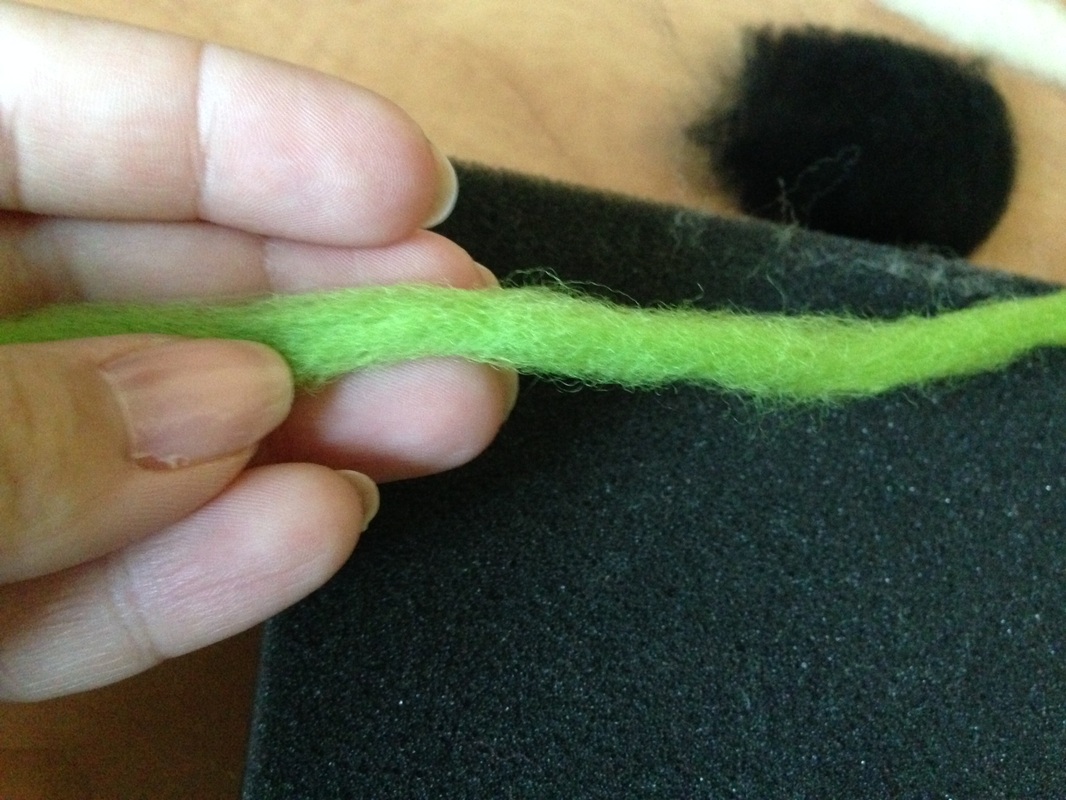
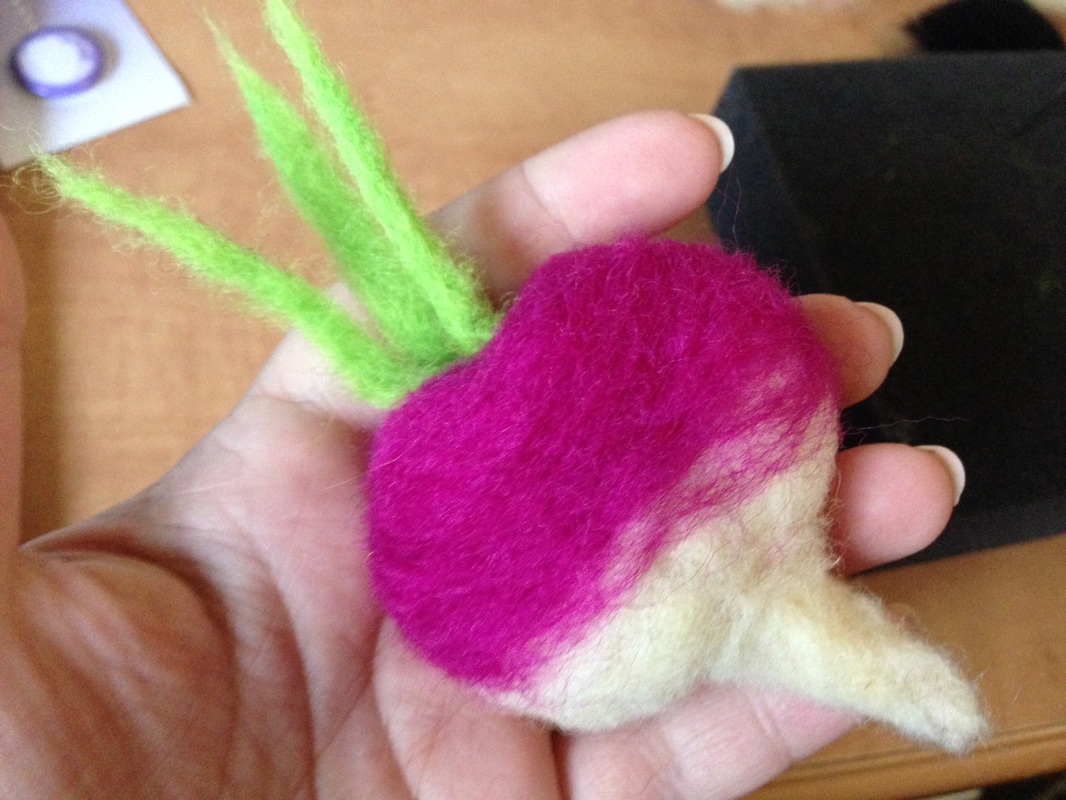
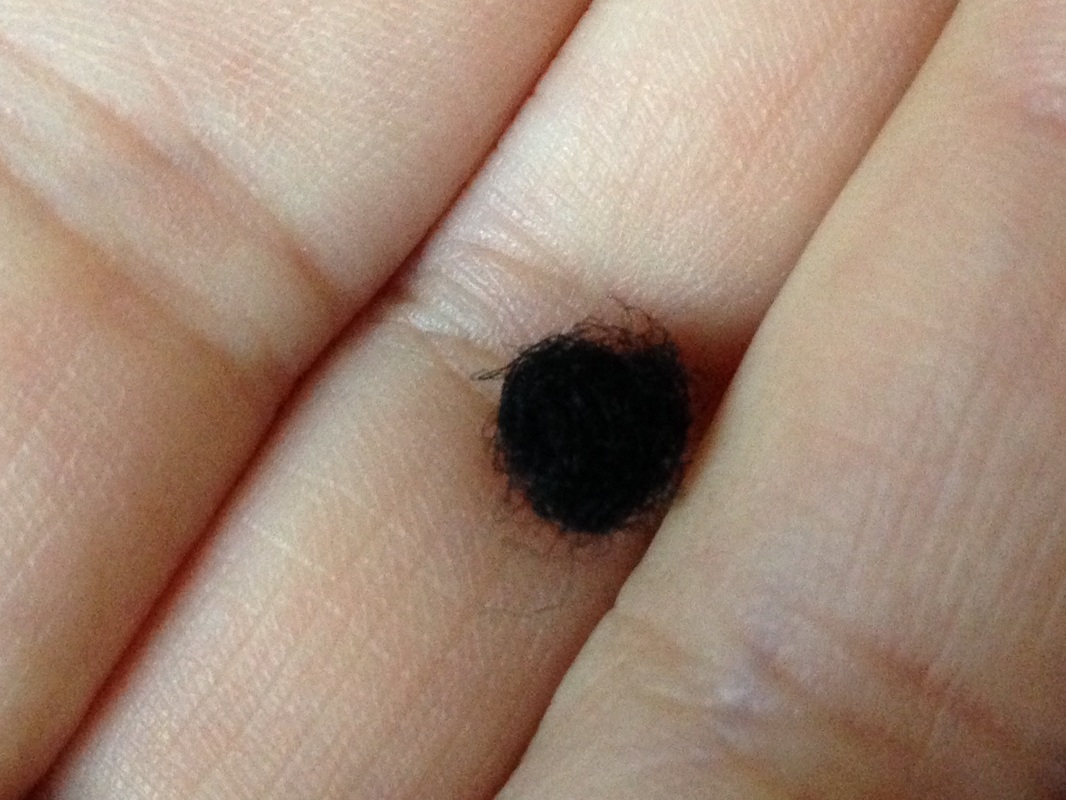
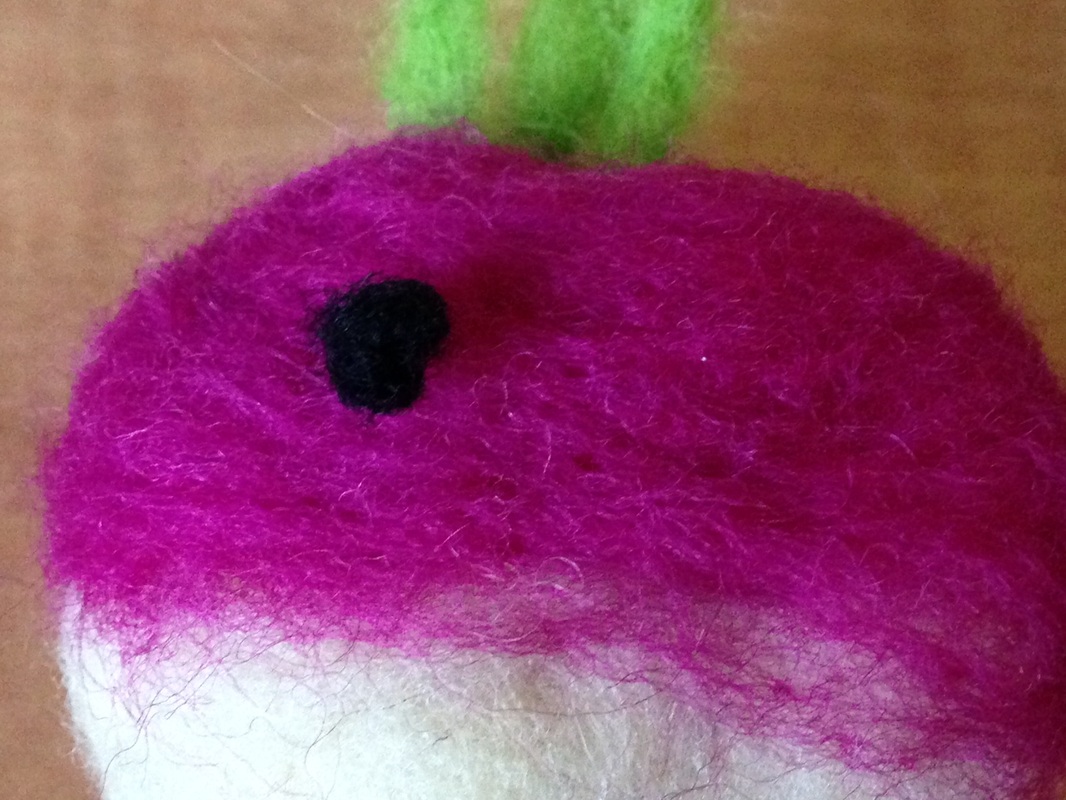
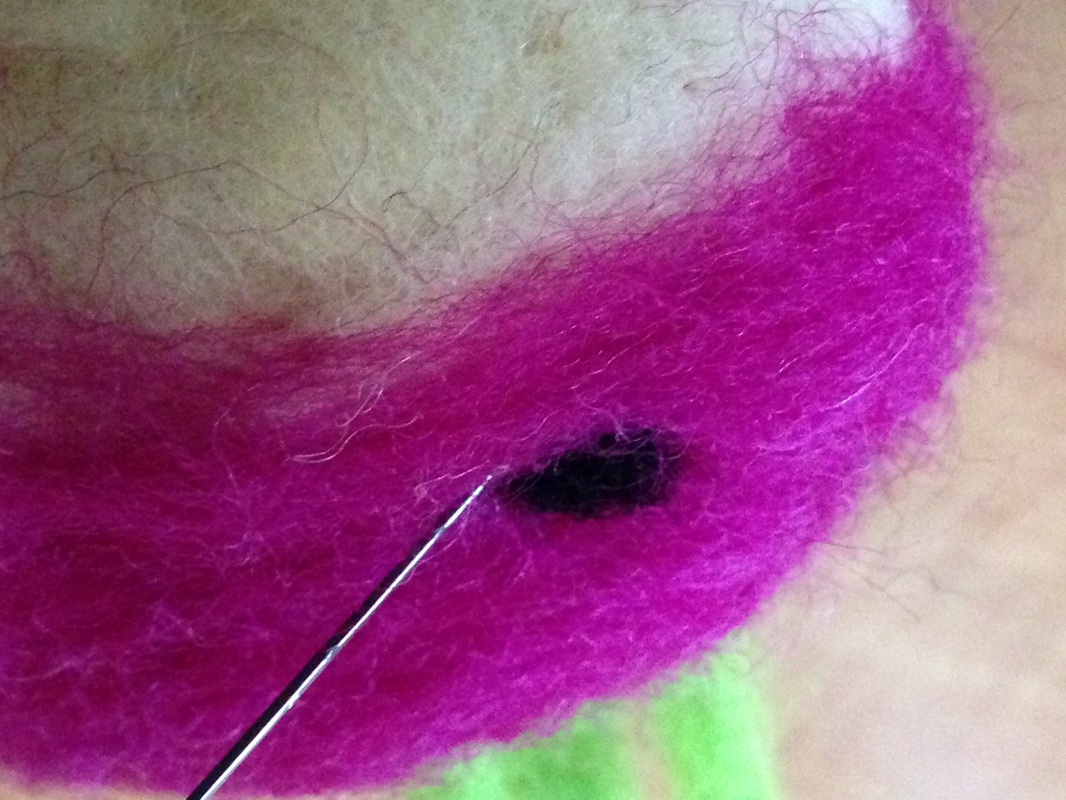
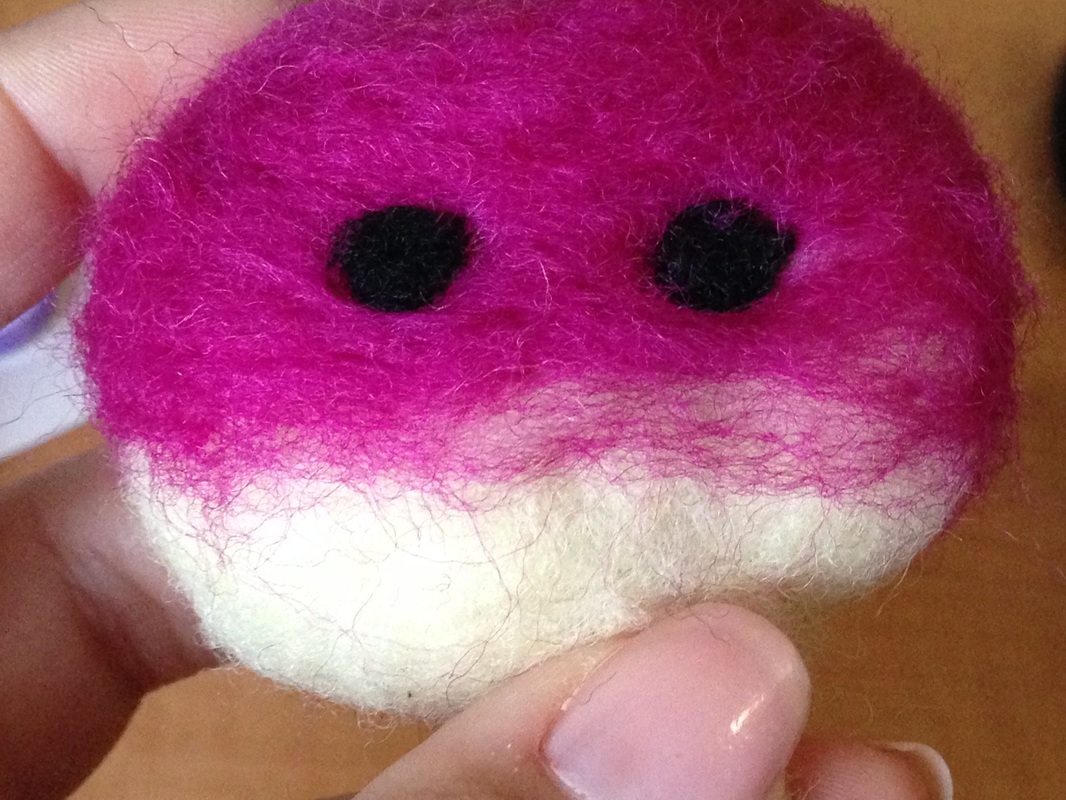
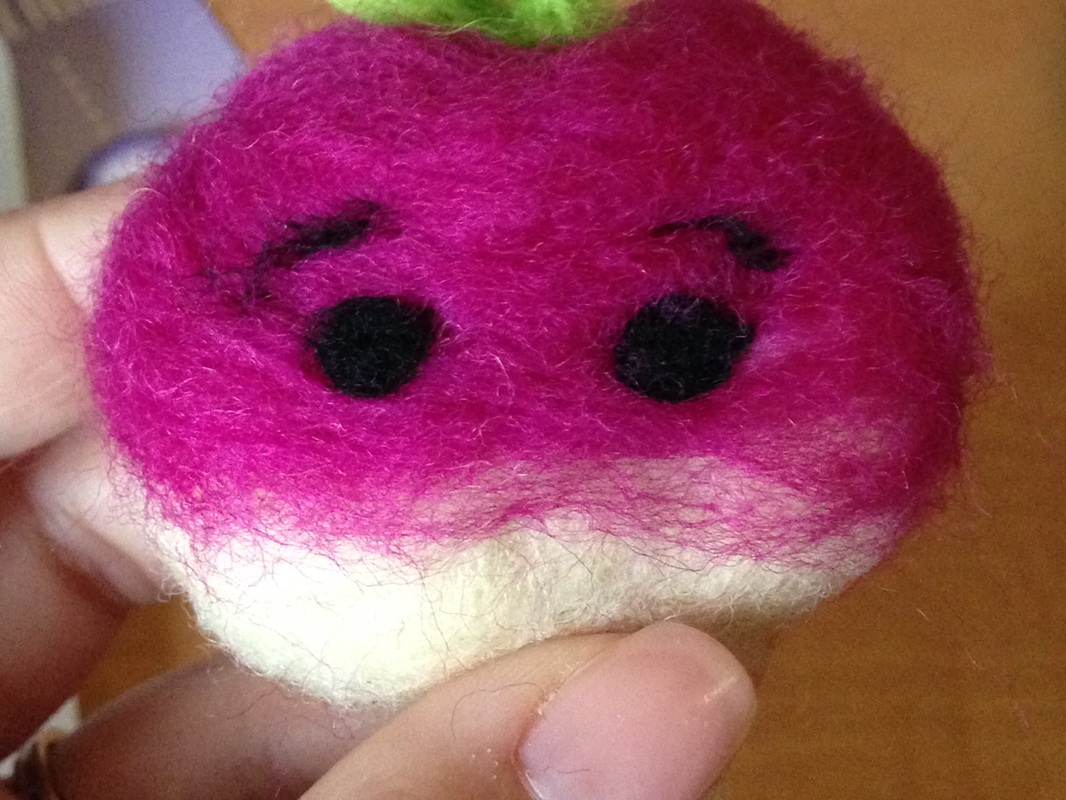
I got my February Whimseybox and the project was needle felting. I was a bit nervous to try it out, because I had never done anything similar before, but I had instructions to follow and pictures to copy :) I started out with all of my materials, and after a few pokes to the finger with a needle, I was able to transform them into a needle felted turnip (random right?). I'm not sure what I am going to do with a needle felted turnip, but I figure that the skill I gained might help me with future needle felting projects. I have seen a bunch of cute ideas online, so I may try this skill again. Love- Jen | About JenI am a 20-something girl living in California with my wonderful husband and our crazy dog. ArchivesMarch 2014 CategoriesAll |


 RSS Feed