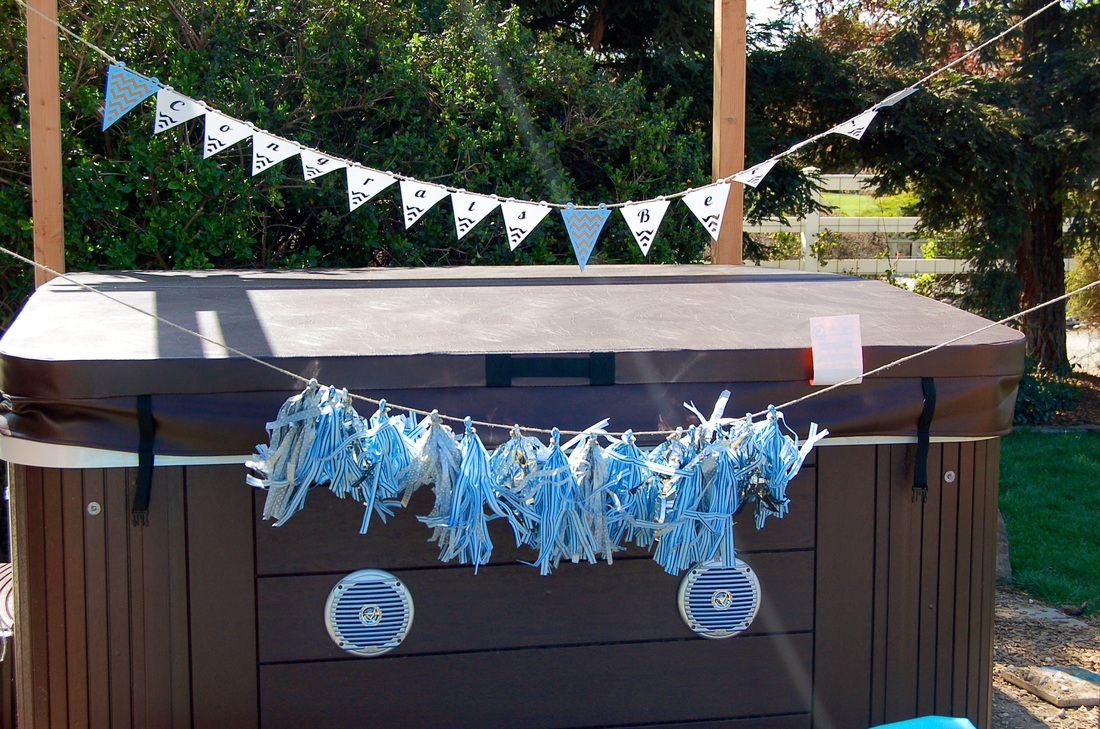
I was lucky enough to help plan my co-worker's baby shower this last weekend, and I was trying to figure out a new way to decorate a space. I had already done tissue poms for my friend's bridal shower, and I wanted something a little more boyish since my co-worker is having a boy. I used this tutorial to create my tissue garland, and I think that this will definitely be an easy decoration to make going forward. I think it turned out great :)
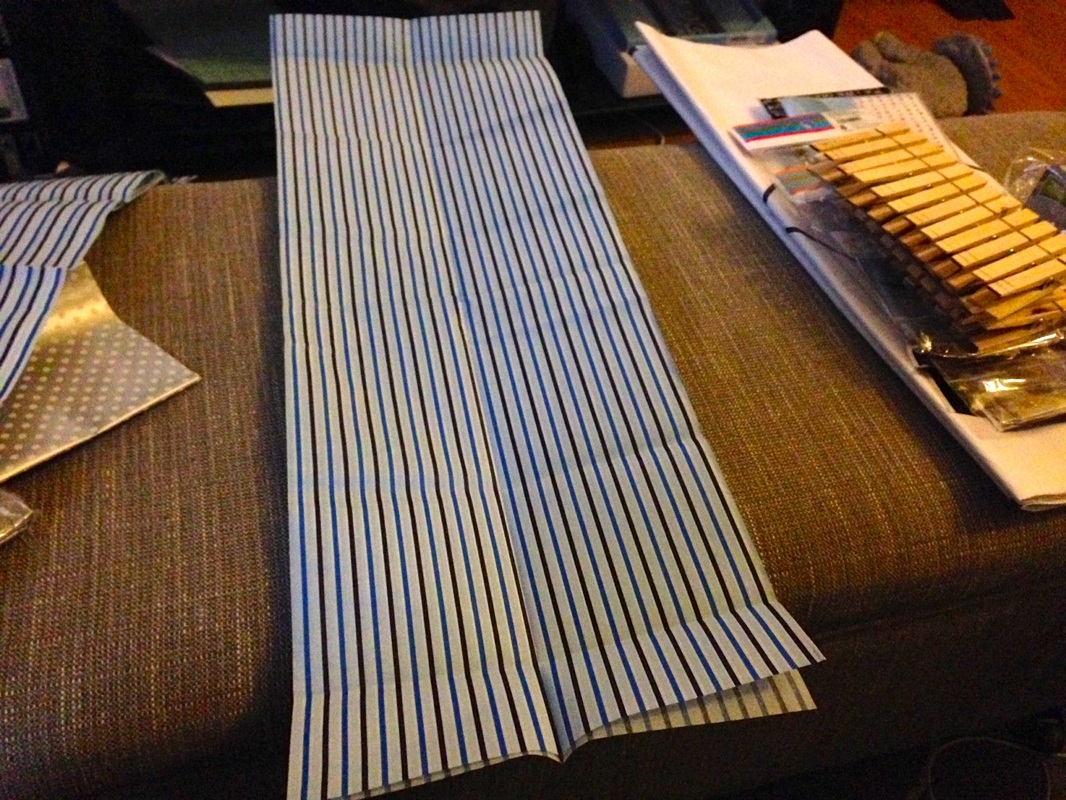
Fold the tissue paper in half length-wise.
Fold it in half length-wise again.
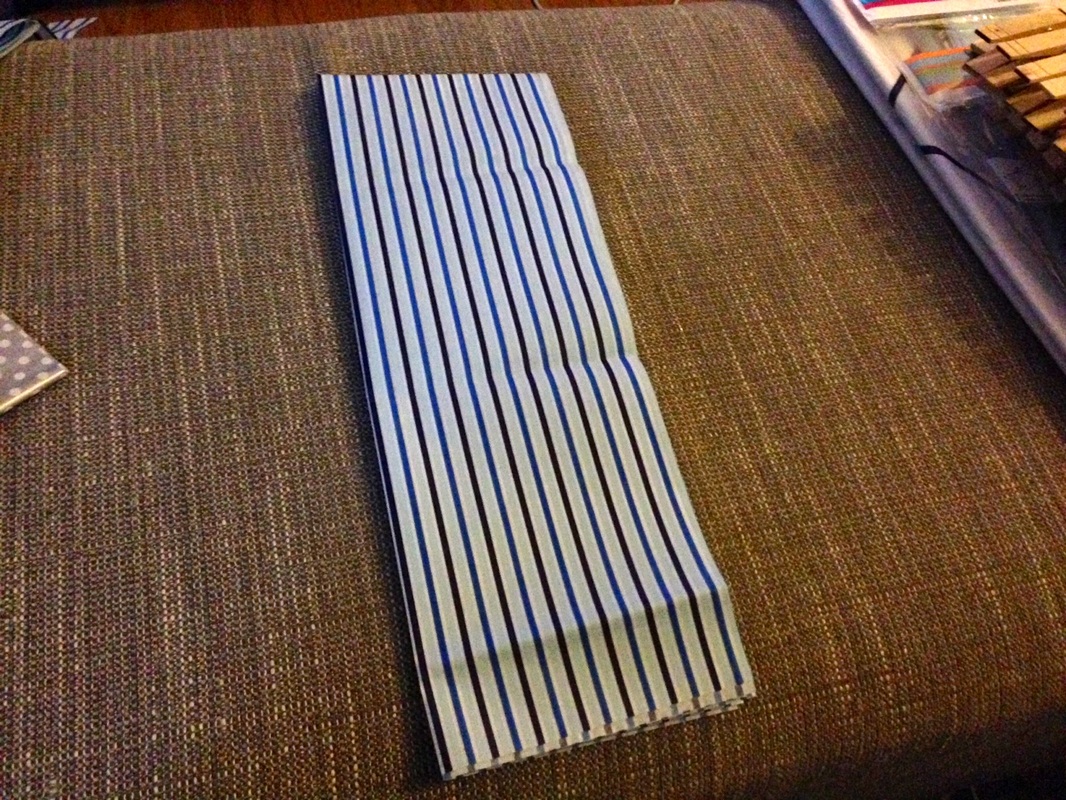
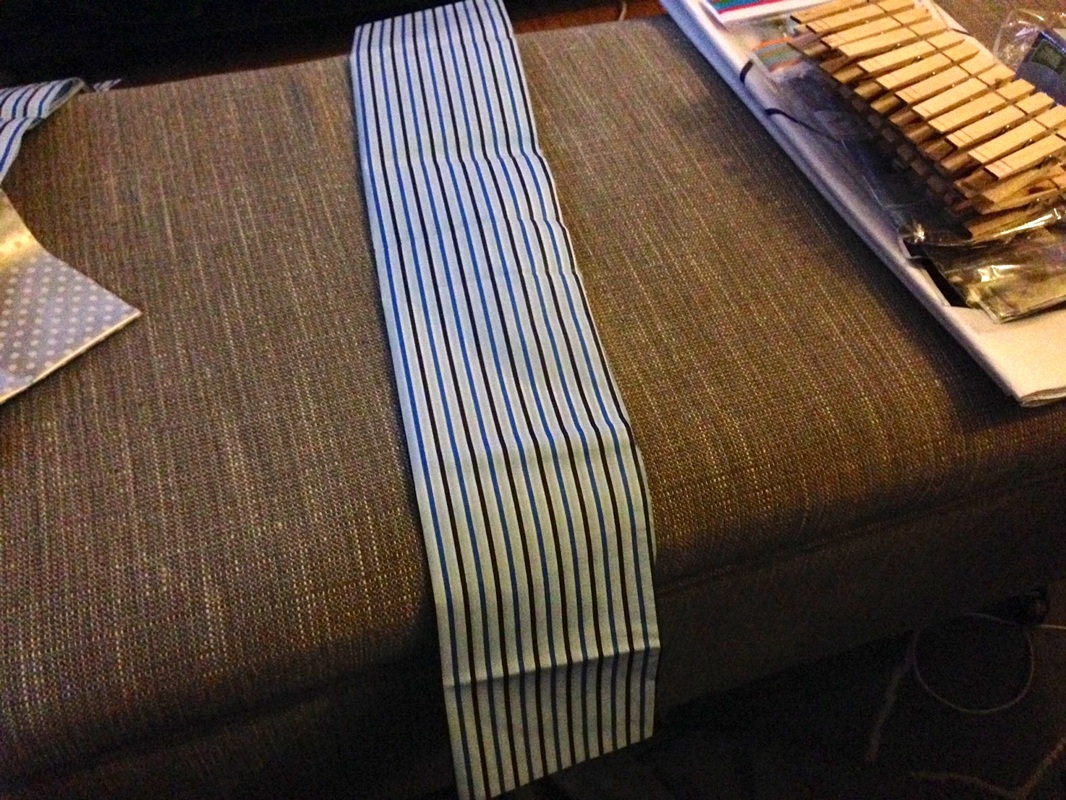
Then, fold it in half the other way (so that the fold is at the top).
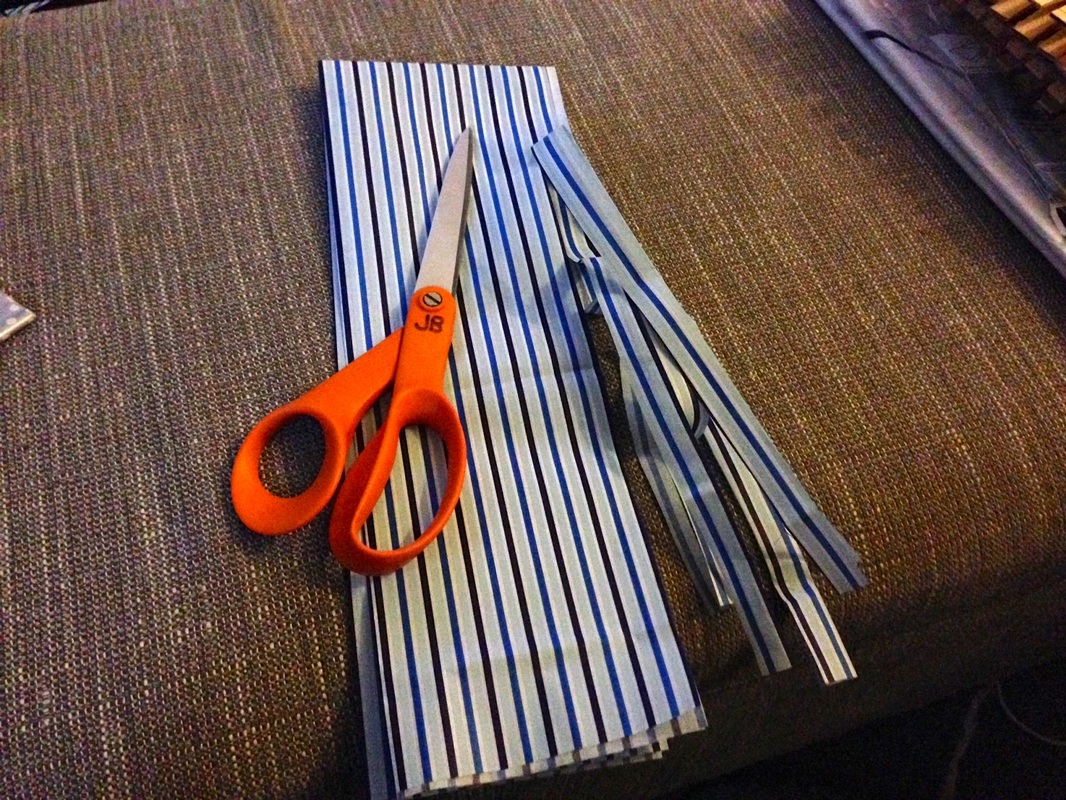
Start to cut strips length-wise in the paper, and continue all the way across. Make sure to stop about 4 inches from the top fold of the paper.
Make sure that all of the strips are similar in size. One thing that I wish that I would have done would be to iron the tissue paper before I started. That way, I wouldn't have all of those folds in the paper.
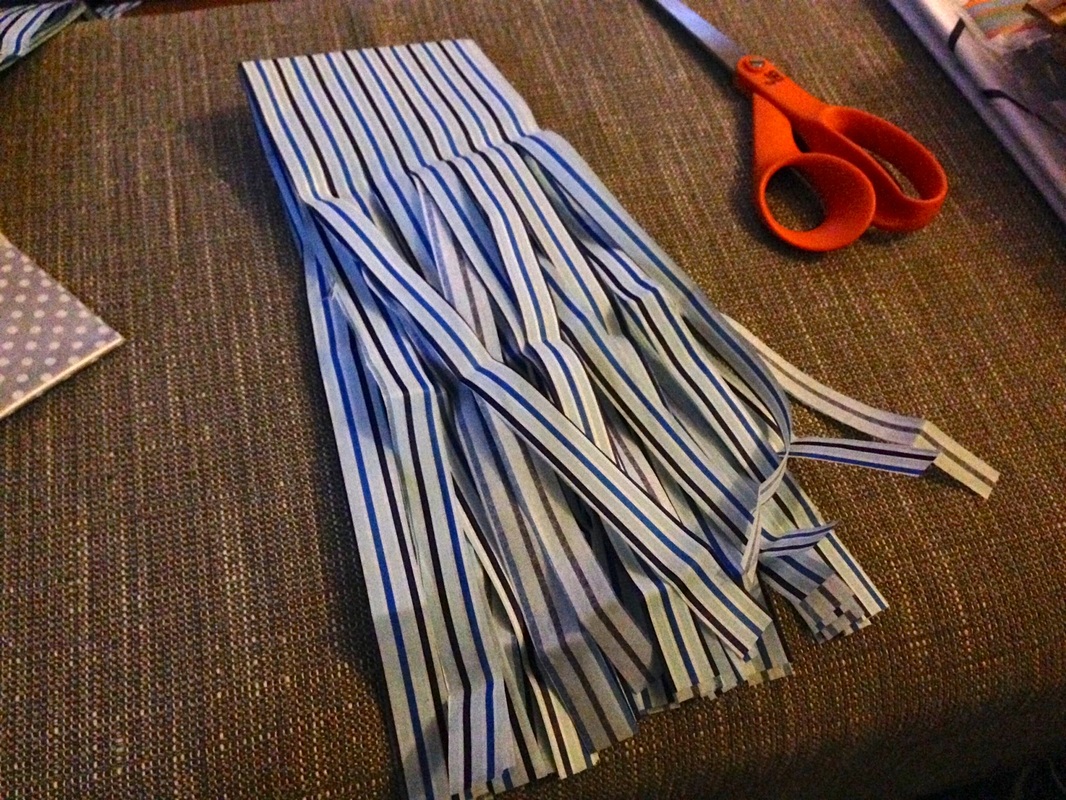
You then unfold the paper so that the strips are on either side.
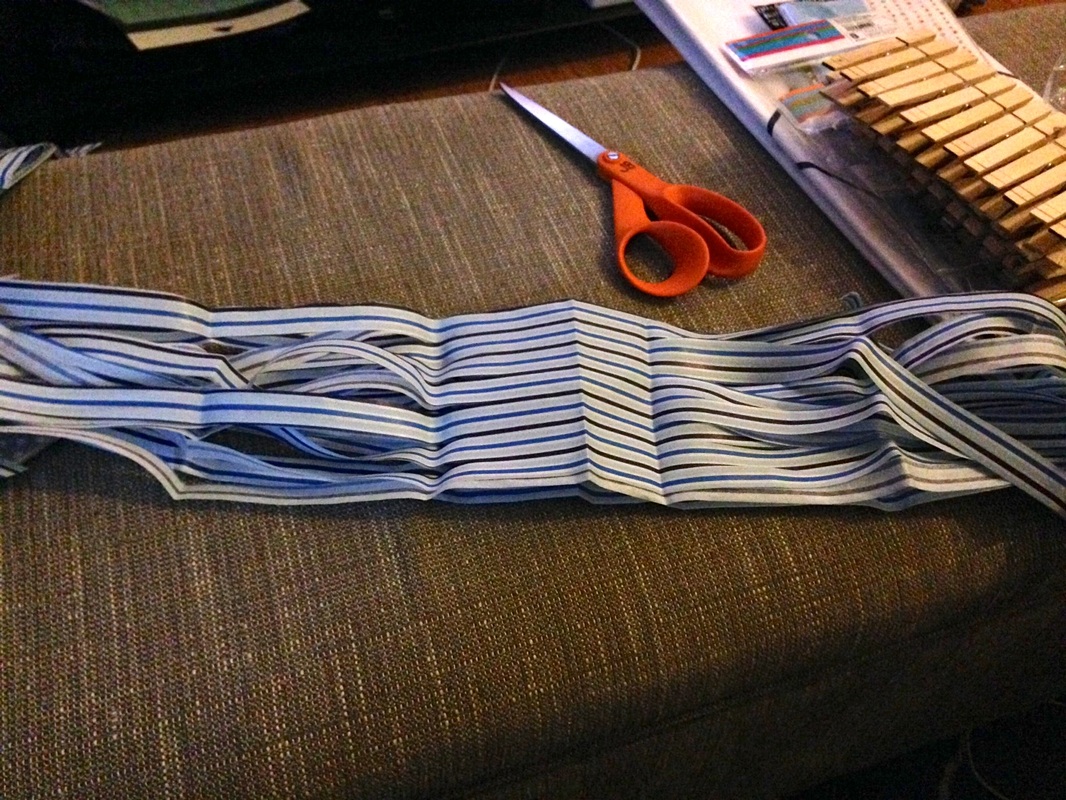
Crinkle it up in the middle so that it stays together.
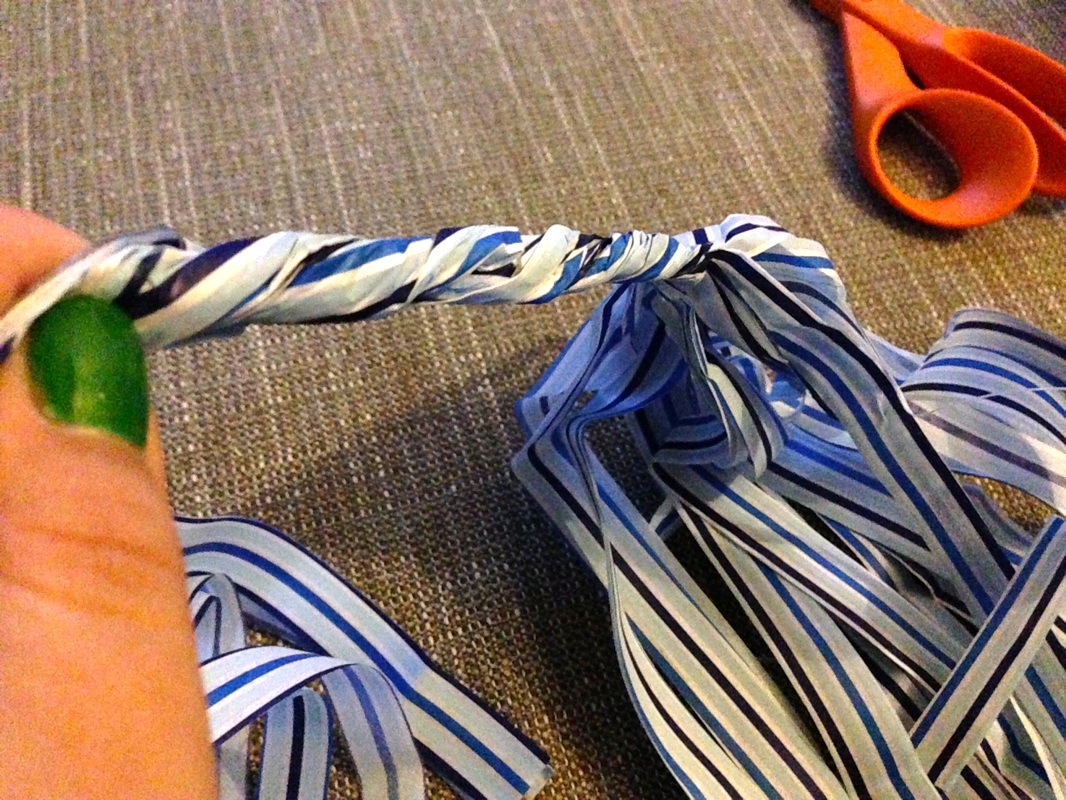
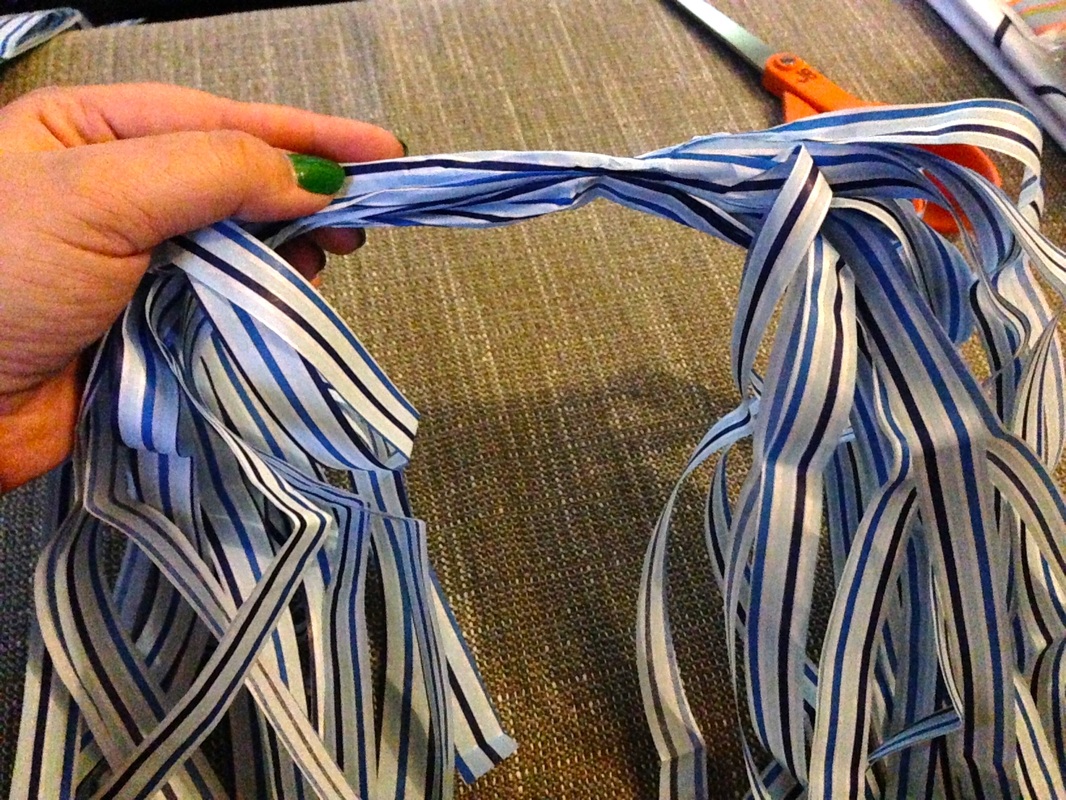
Twist the middle.
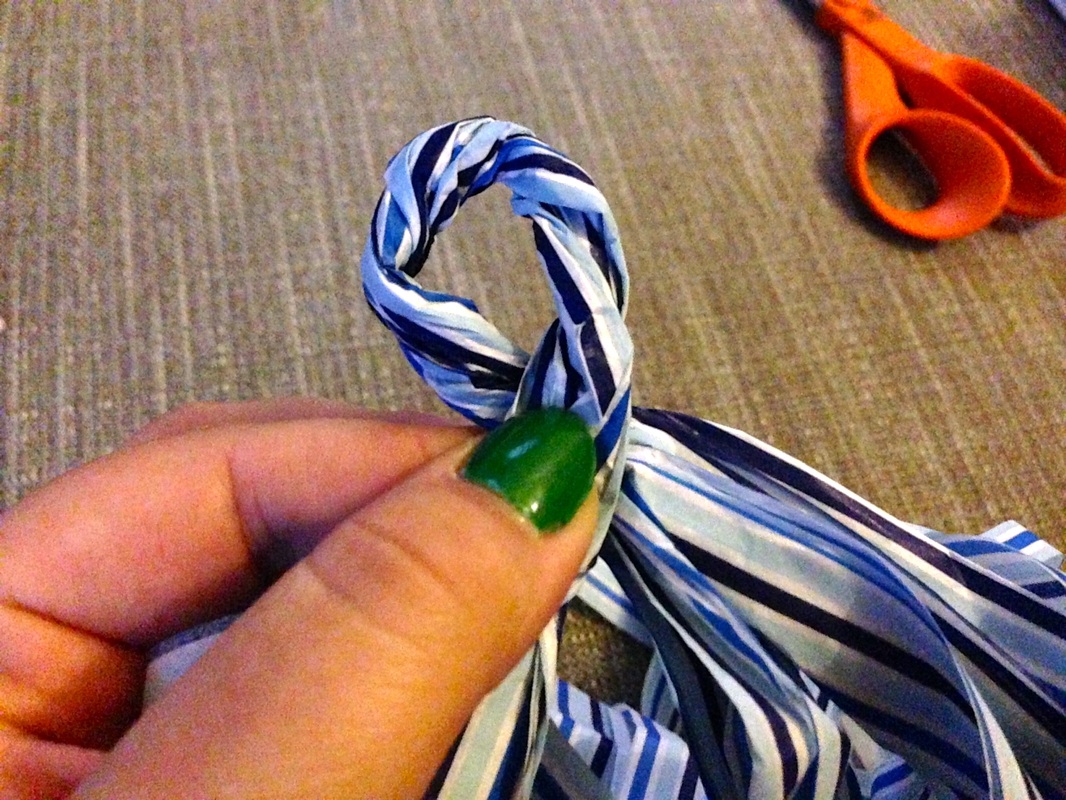
Twist it so that it makes a loop.
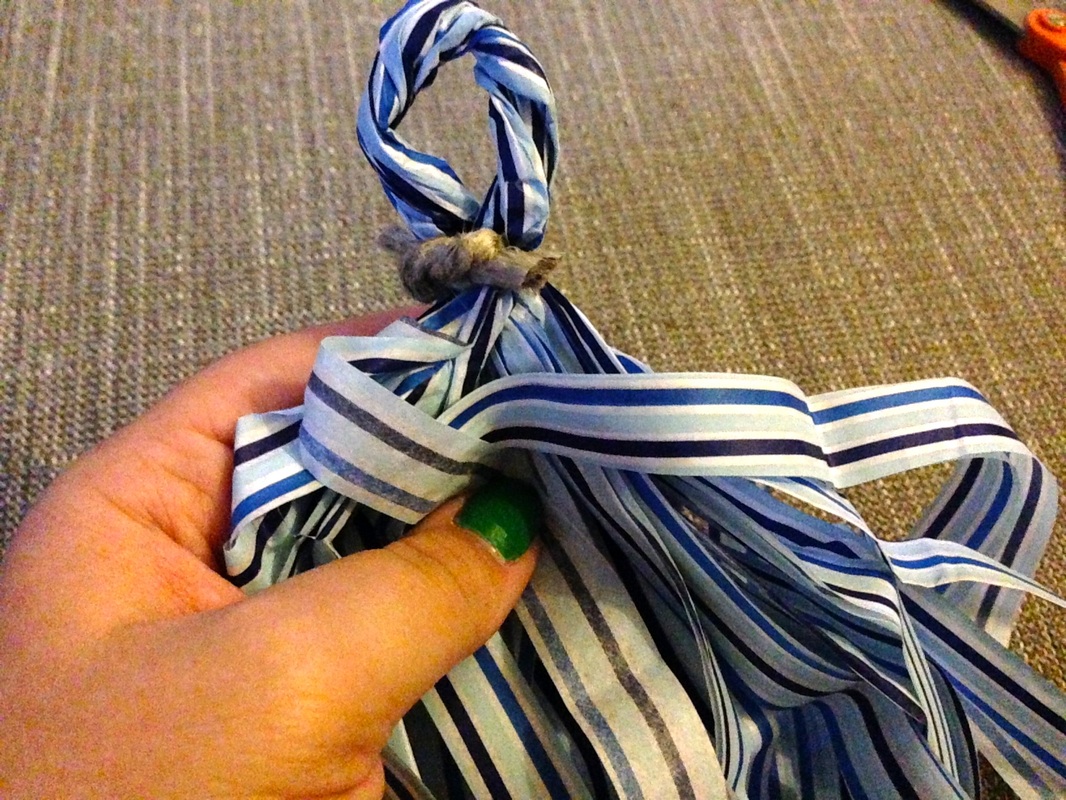
Tie the loop with twine, then string it up on a piece of twine or string.
Let me know if you decide to try this tutorial! I found it to be very easy, and I think that it added an extra element of color to the party. And it may even be used in the baby's nursery!
Let me know if you decide to try this tutorial! I found it to be very easy, and I think that it added an extra element of color to the party. And it may even be used in the baby's nursery!
 RSS Feed